
Fierce Tales: Feline Sight: Chapter Four: The Ruins
Our Fierce Tales: Feline Sight Walkthrough won't abandon you like your fickle feline companions in this exciting hidden object adventure game! We've loaded this guide full of gorgeous in-game screenshots, detailed step-by-step instructions, and simple puzzle solutions to help you discover exactly who's behind this kitty rebellion.
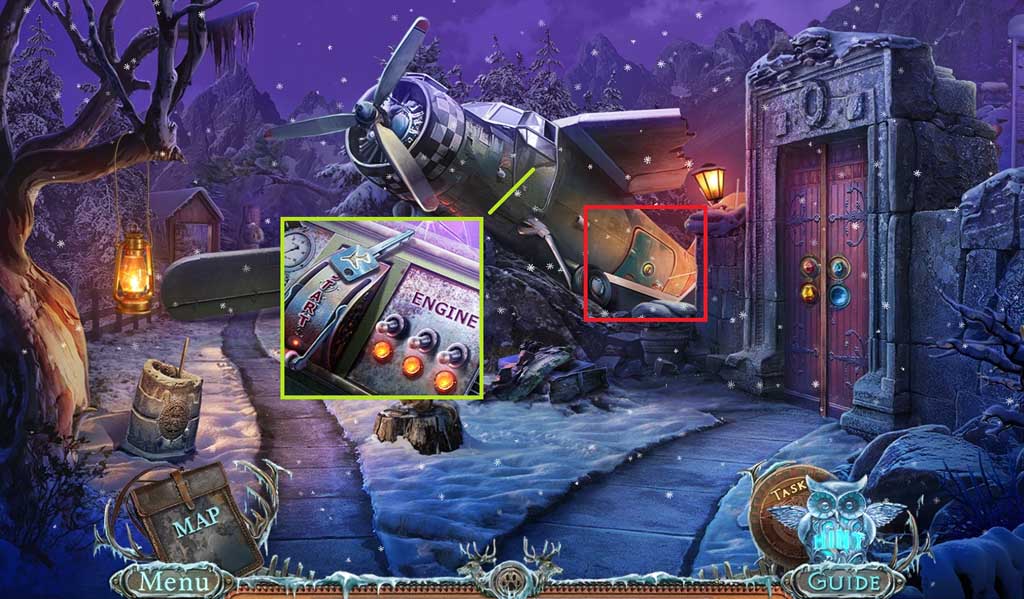
- Click the plane door, zoom in and collect the plane trunk key.
- Insert the plane trunk key and click it to trigger a hidden objects area.
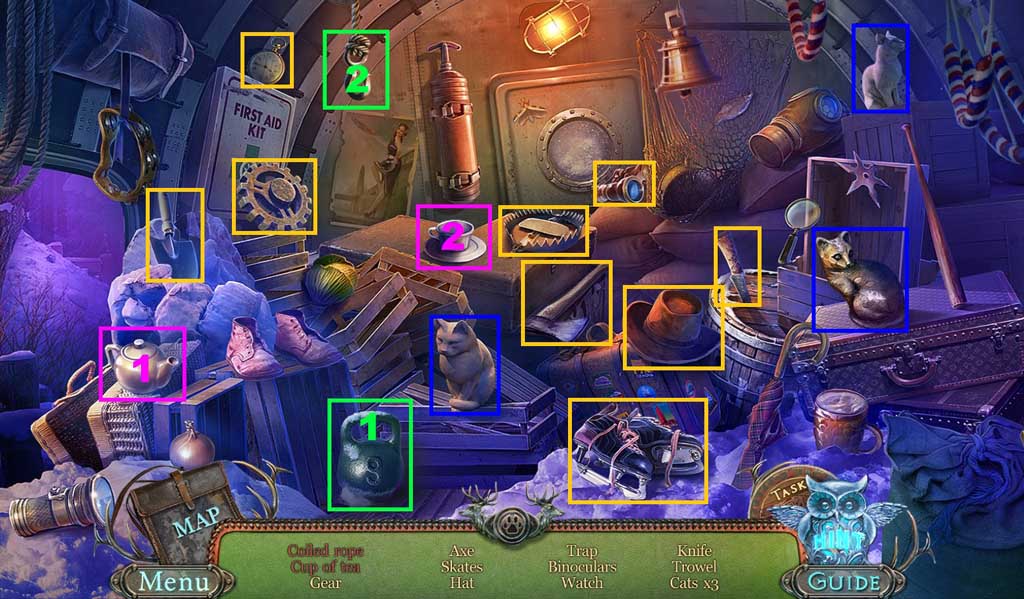
- Find the items.
- Select the weight and place it onto the hook; collect the coiled rope.
- Select the teapot and pour it into the teacup; collect the cup of tea.
- Collect the coiled rope.
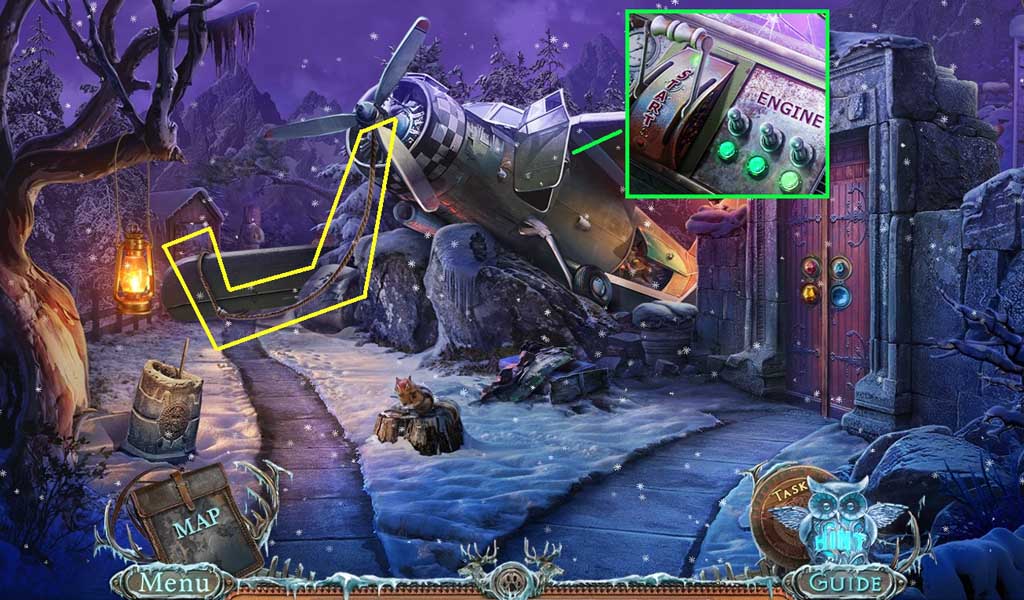
- Place the coiled rope onto the propeller; click it once.
- Click the 3 switches and then the lever.
- Move ahead.
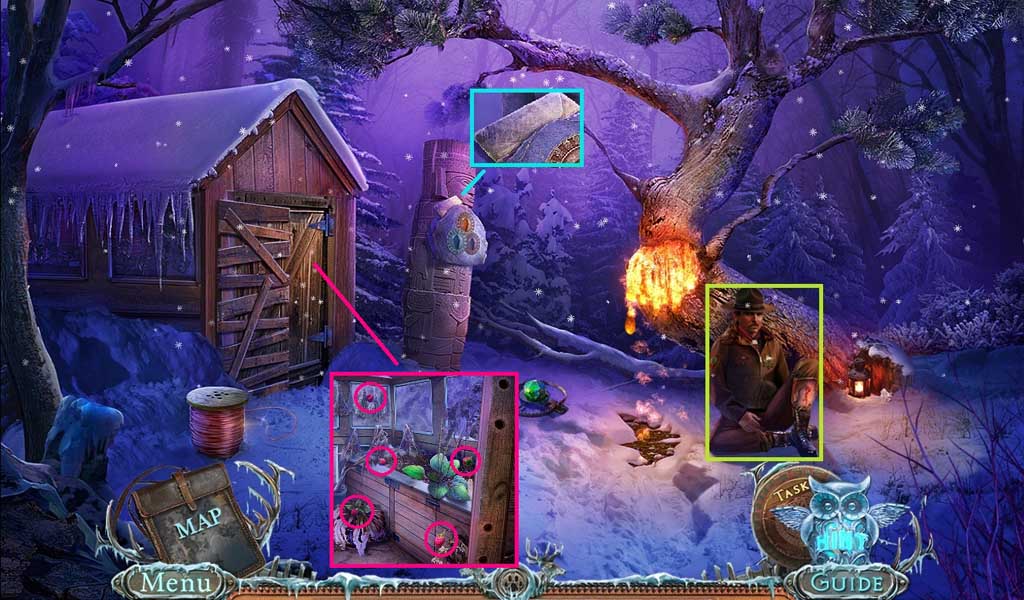
- Speak to the ranger.
- Collect the grindstone.
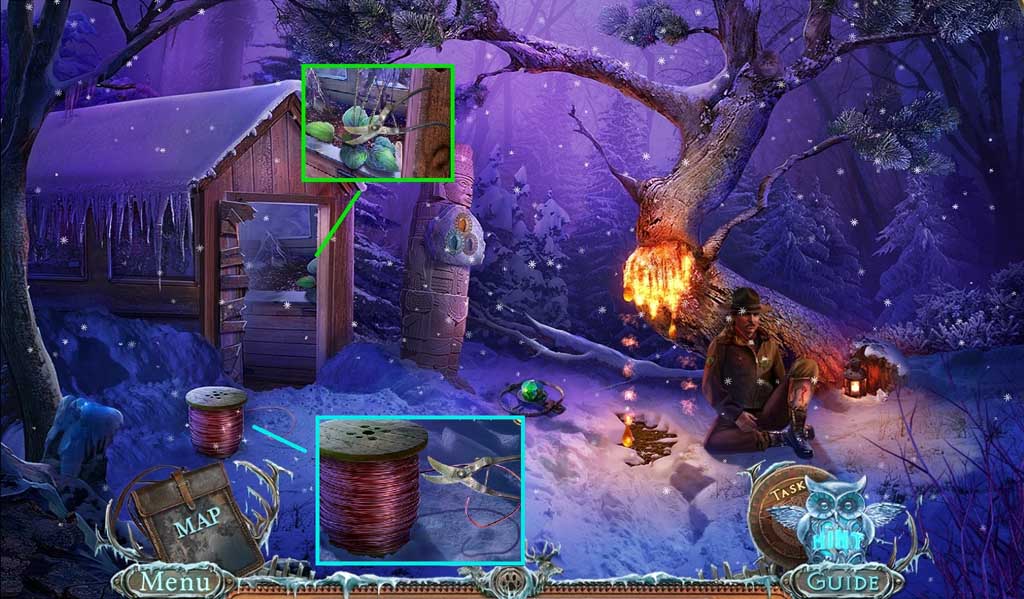
- Select the screwdriver to remove the hinges; collect the 5 raspberries.
- Move down once.

- Give the squirrel the 5 raspberries; collect the med kit key and the rusty clippers.
- Select the grindstone to sharpen the rusty clippers.
- Click the items aside; insert the med kit key and collect the bandage.
- Move ahead.
- Select the clippers to collect the leaf and the wire.
- Move down once.
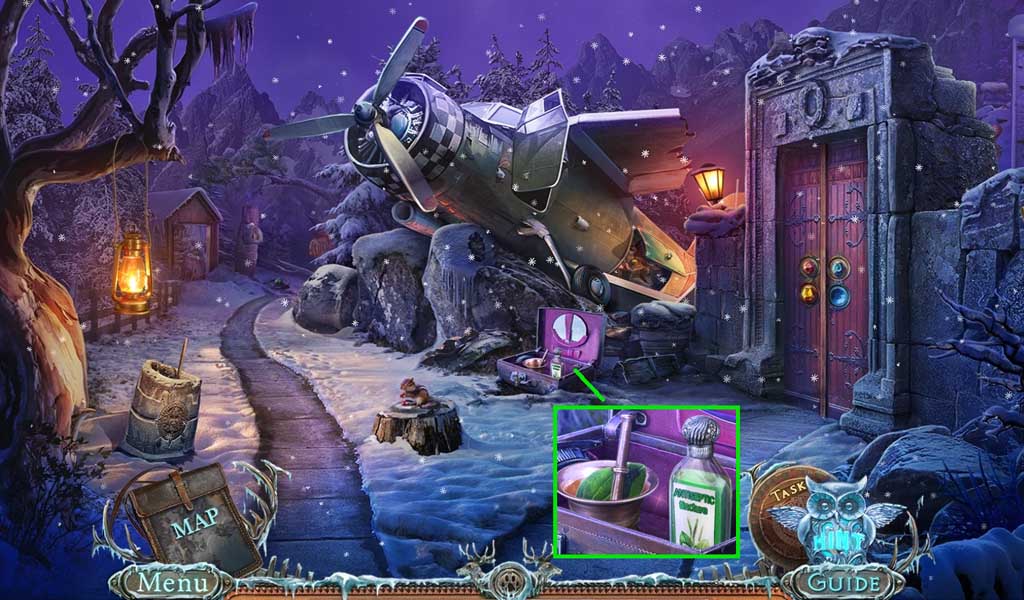
- Insert the leaf and click the pestle.
- Click the bottle; collect the tincture.
- Move ahead.
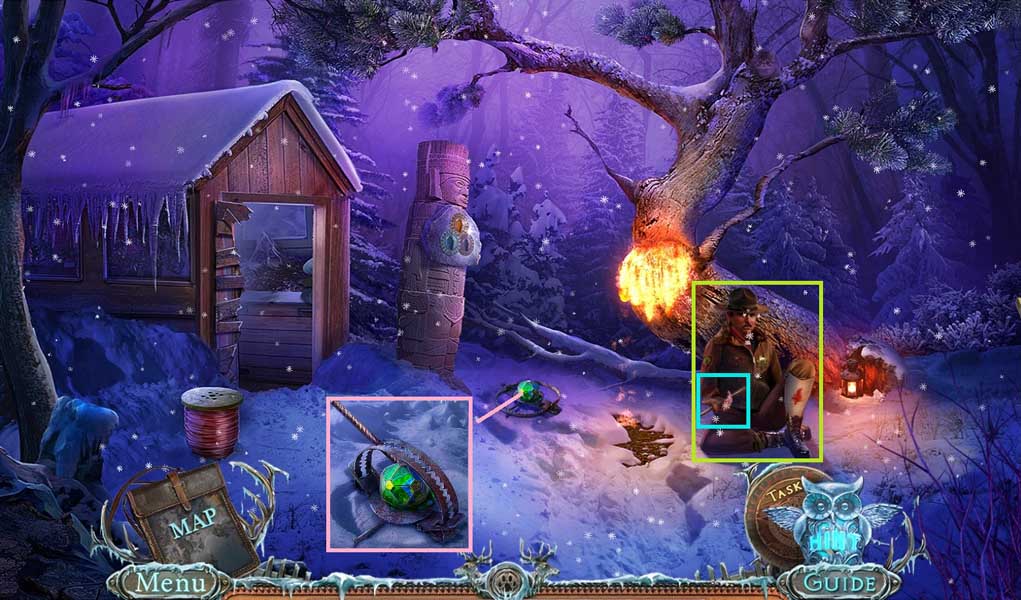
- Place the tincture and the bandage onto the wound.
- Collect the rod and use it to collect the sphere.
- Move down once.
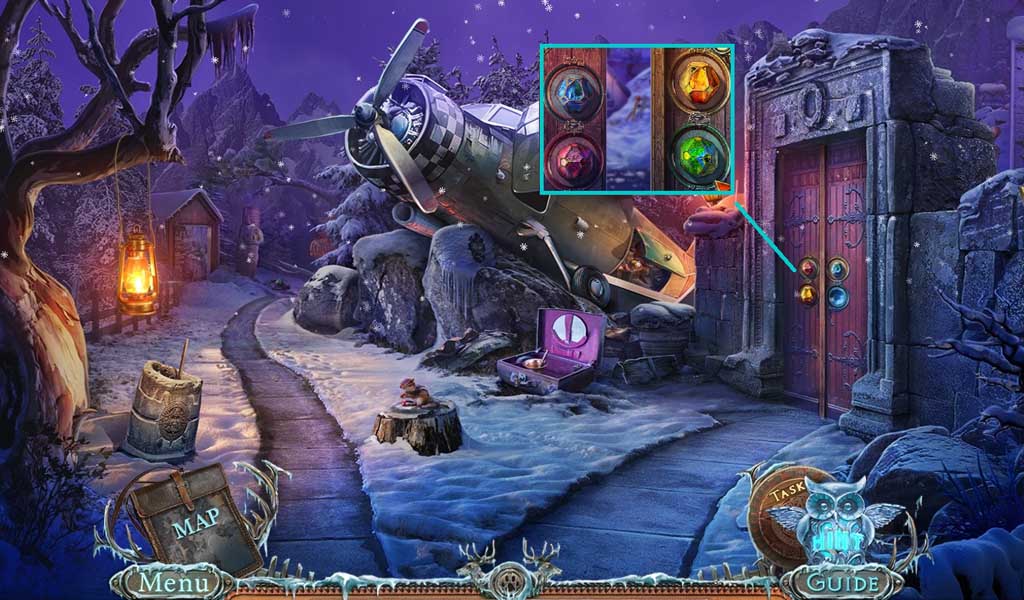
- Insert the sphere to trigger a mini game.
- Arrange them correctly to solve the game.
- Enter the doorway.
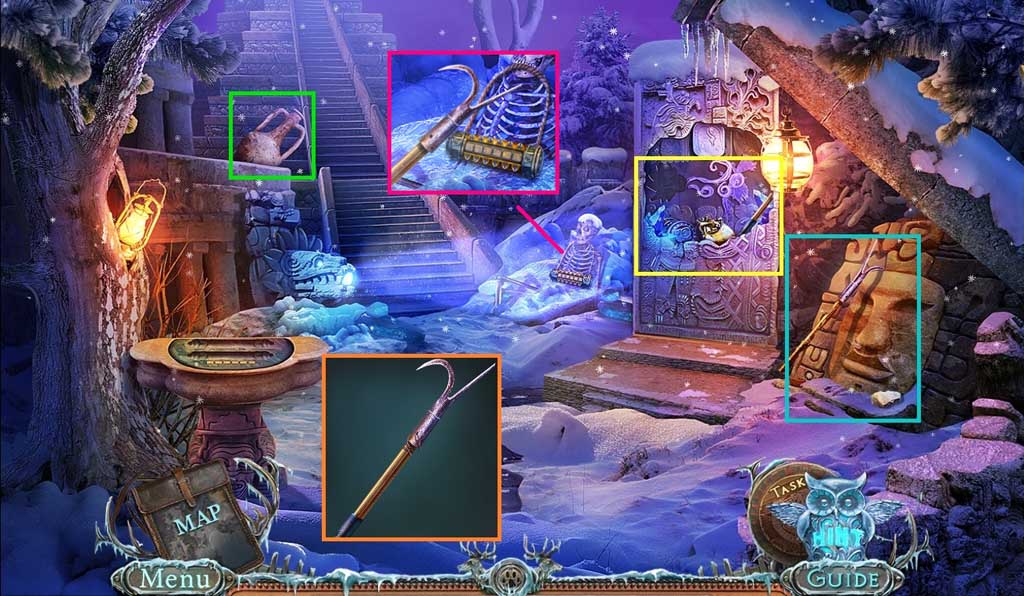
- Collect the gold heart, the stone cylinder and the gaff handle.
- Collect the stone.
- Click the handle and collect the gaff top; attach the gaff handle and the wire.
- Click it 2x’s and collect the gaff.
- Toss the stone towards the jug.
- Select the gaff to collect 1 /2 cryptexs’.
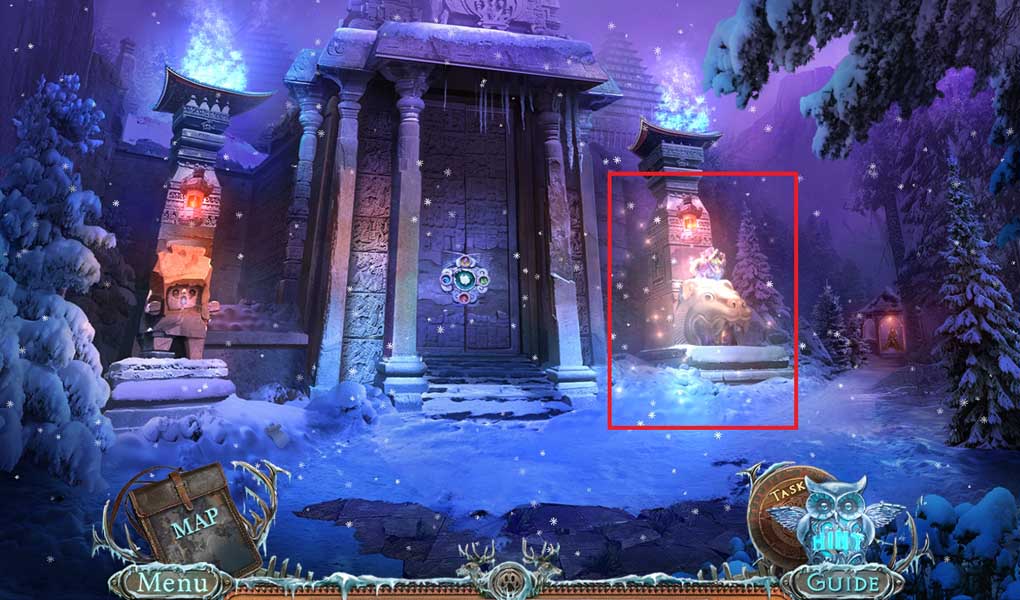
- Move to the Pinery.
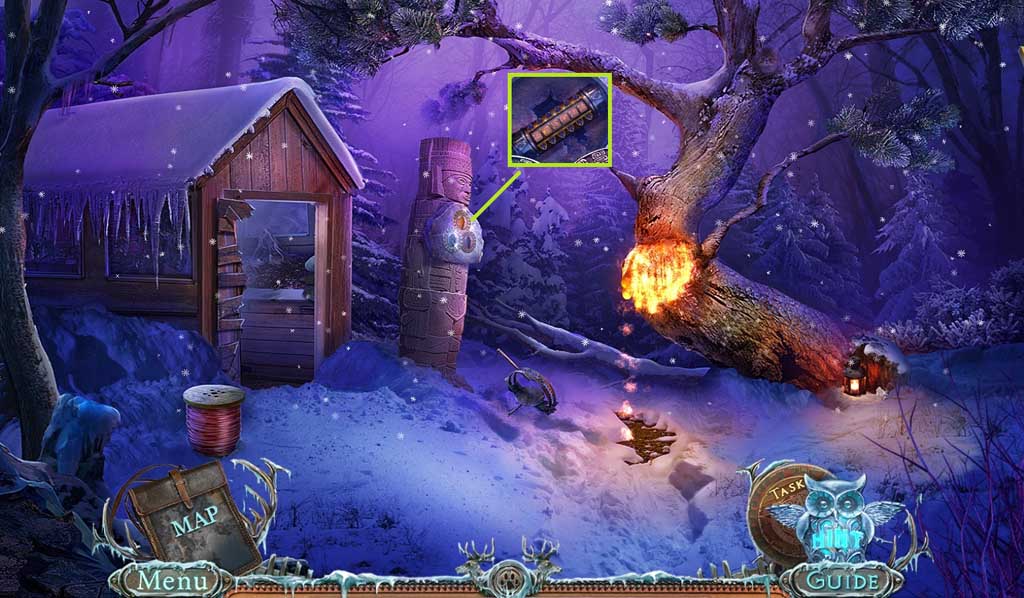
- Insert the gold heart; collect 2 /2 cryptexs’.
- Move to the Ancient Pantheon Ruins.

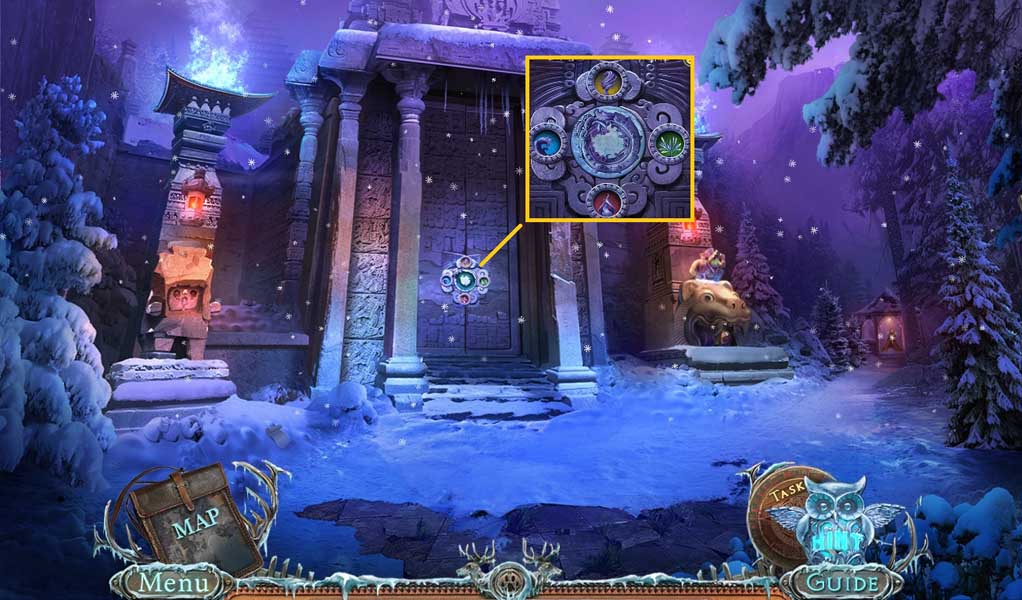
- Insert the 2 cryptexs’ to trigger a mini game.
- Solve the game by aligning the images correctly.
- Use the following solutions to solve:
- Part 1: 1 x 6 – 2 x 5 – 3 x 4 – 4 x 1 – 2 x 5 – 5 x 4 - 1 x 2 – 3 x 4 – 6 x 3 – 4 x 3 – 2 x 3 – 5 x 3 – 1 x 3 – 3 x 3
- Part 2: A x 6 – B x 5 - C x 4 – D x 1 – B x 5 – E x 4 – A x 2 – C x 4 – F x 3 – D x 3 – B x 3 – E x 3 – A x 3 – C x 3
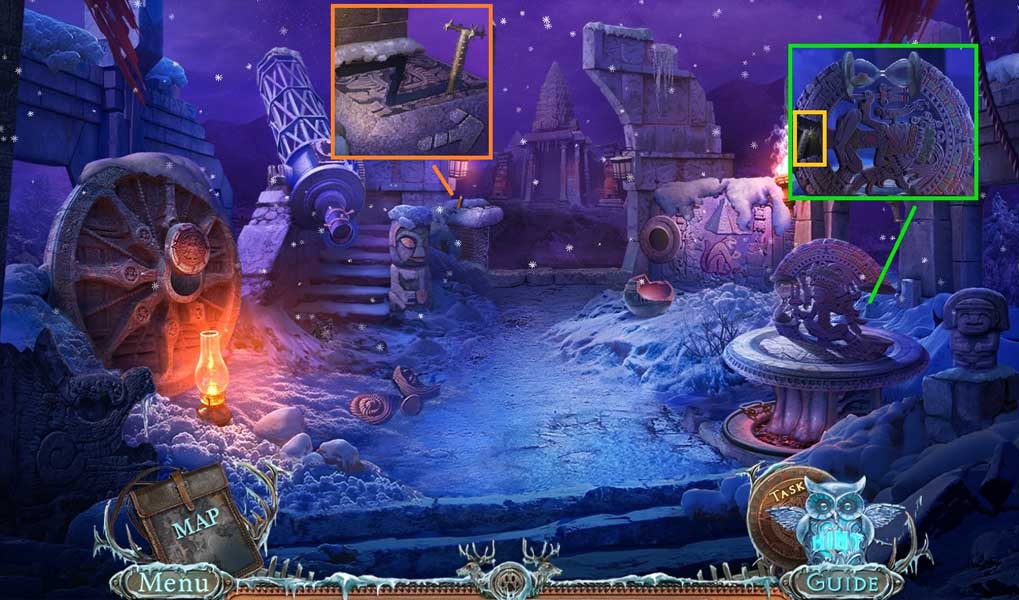
- Collect the torch.
- Move to the Pinery.
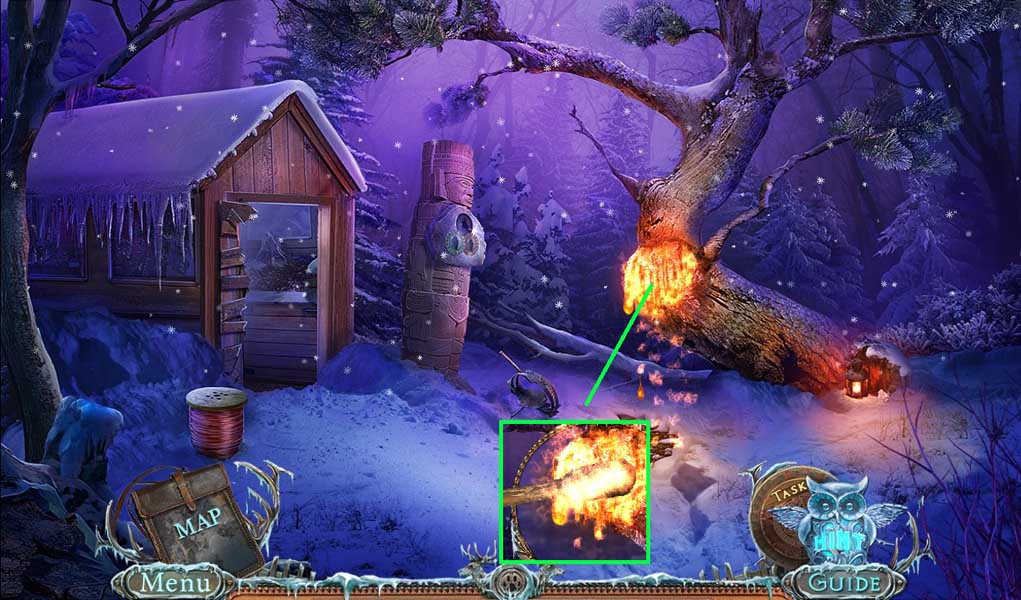
- Place the torch into the resin; collect the torch with resin.
- Move to the Ancient Pantheon Ruins.
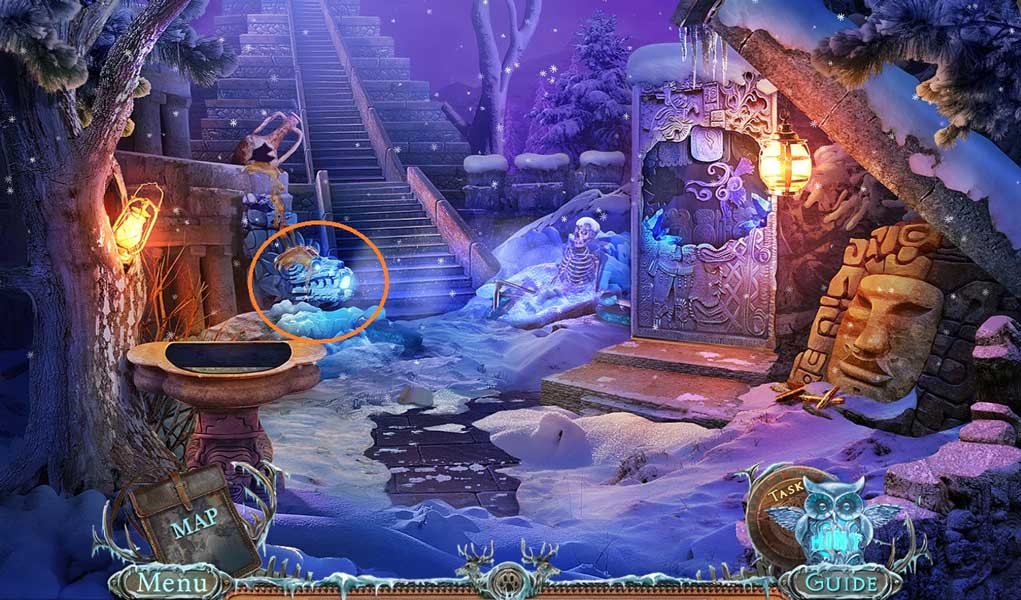
- Select the torch with resin to toss towards the statue.
- Move up the stairs.
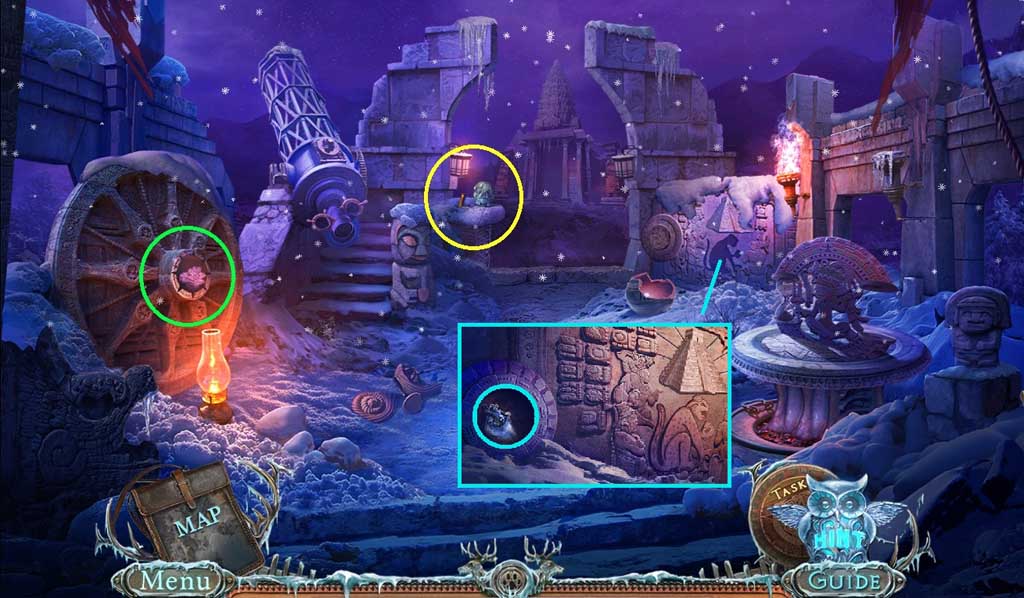
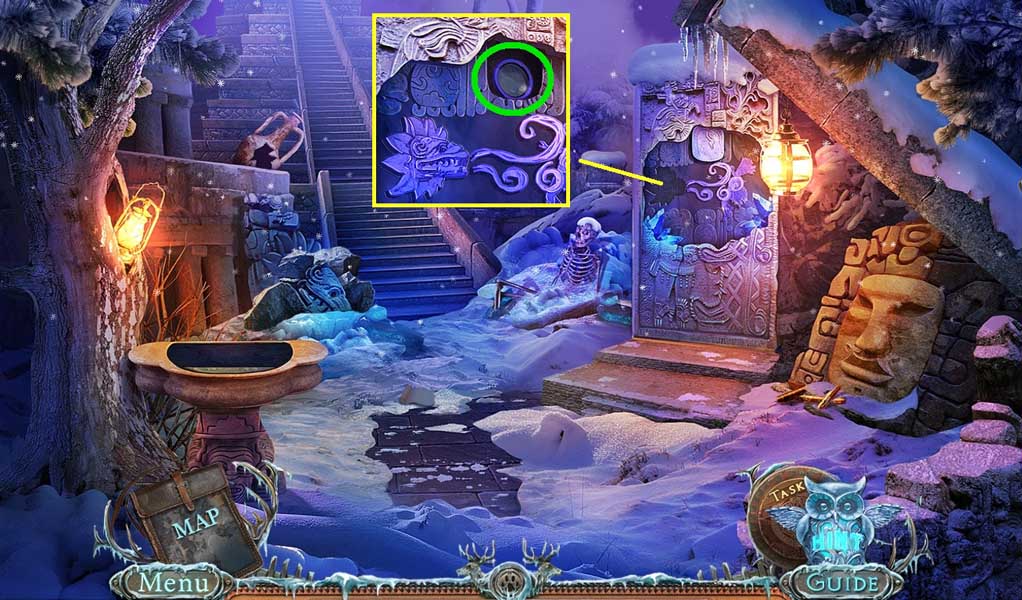
- Collect 1 /3 skulls and the stone.
- Insert the fresco part; collect the iron heart.
- Move down once.
- Place the stone; collect 1 /2 lenses.
- Move to the Pinery.
- Insert the iron heart; collect 2 /2 lenses.
- Move to the Pyramid top.

- Insert the 2 lenses; collect the pillar top.
- Move to the Landing Zone.

- Attach the pillar top; click it 4x’s.
- Collect the solar circle.
- Move to the Pyramid top.

- Insert the solar circle; collect the stone heart.
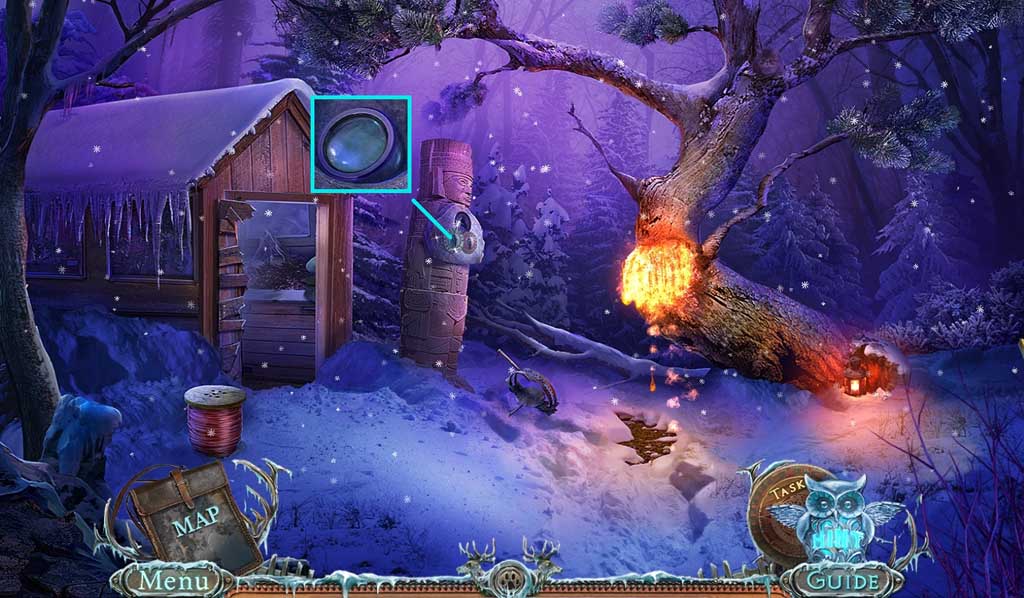
- Move to the Pinery.
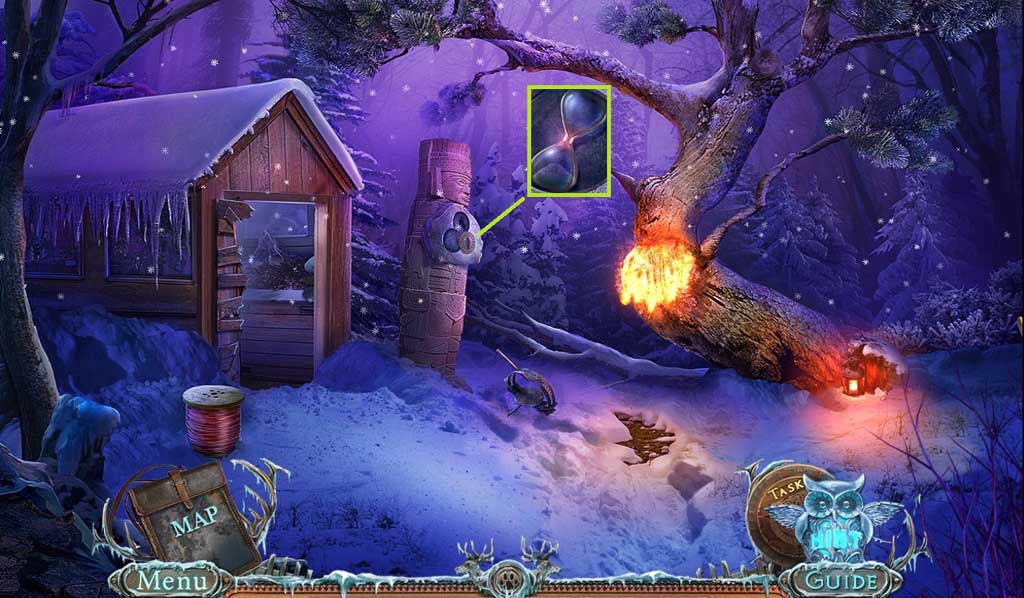
- Insert the stone heart; collect the hourglass.
- Move to the Pyramid top.
- Place the hourglass; collect the joystick and insert it into the slot, then click it 3x’s.
- Move ahead.
- Insert the stone cylinder to trigger a hidden objects area.
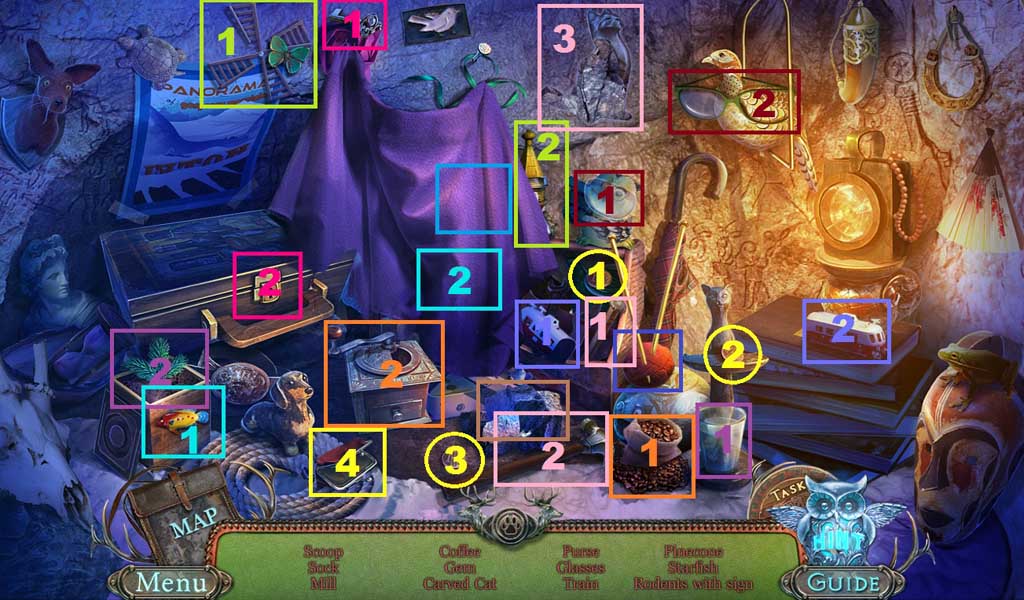
- Find the items.
- Collect the scoop.
- Move to the right.
- Select the scoop to collect 2 /3 skulls and the old box.
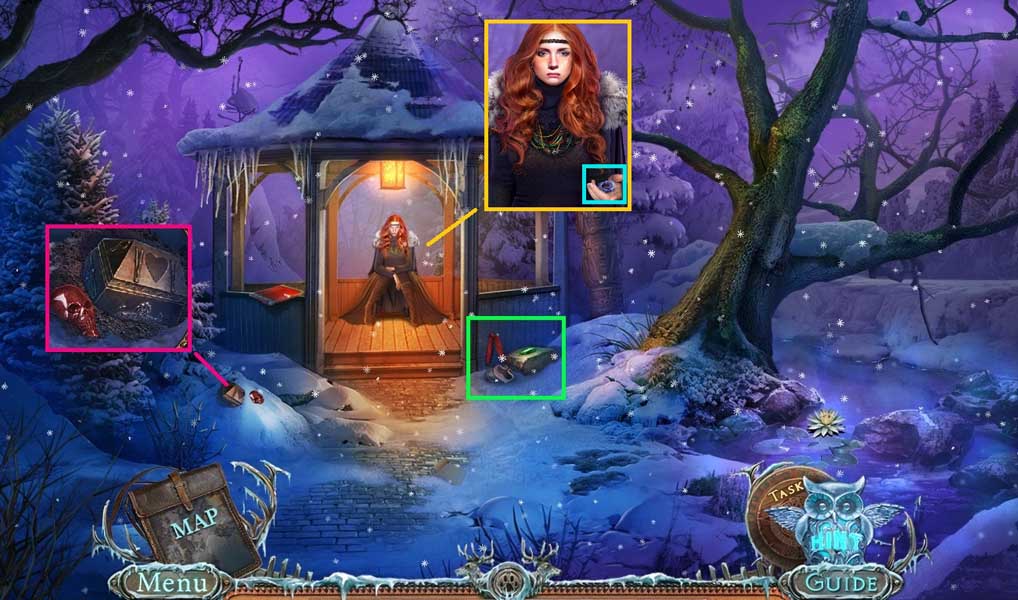
- Collect the flint and the stone square.
- Speak to Autumn; collect the stone disk.
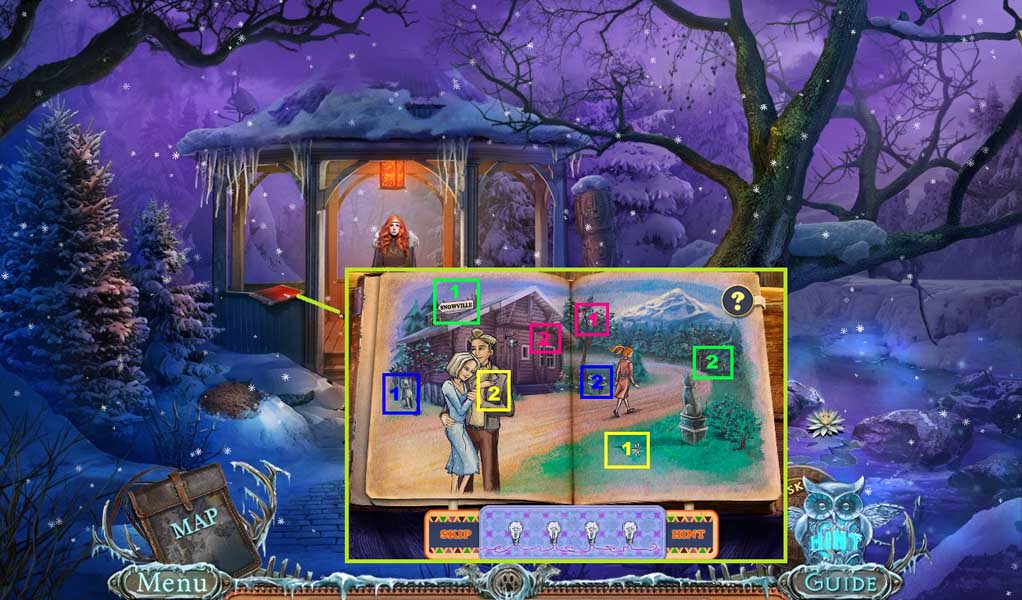
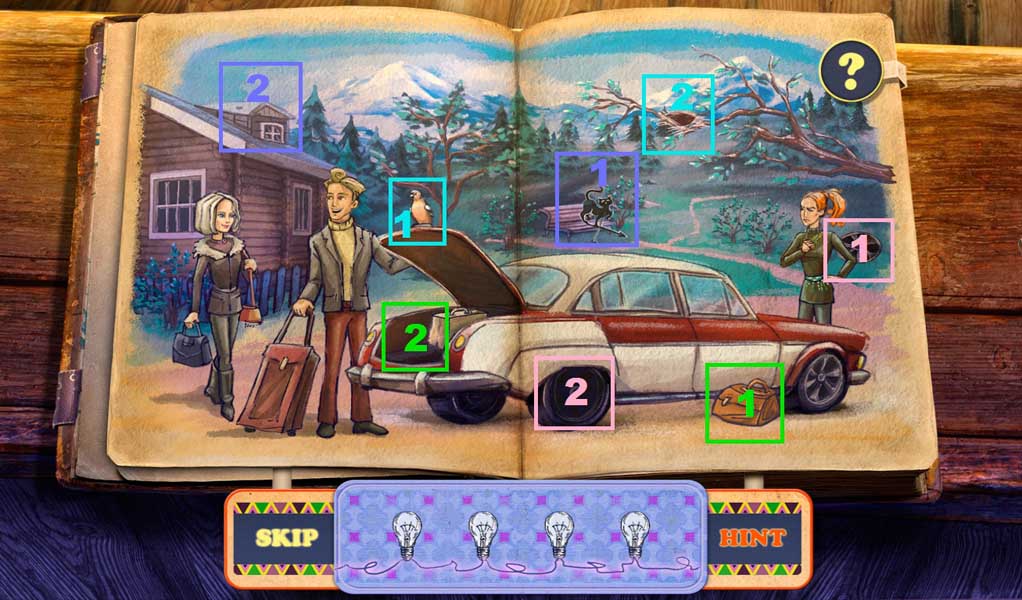
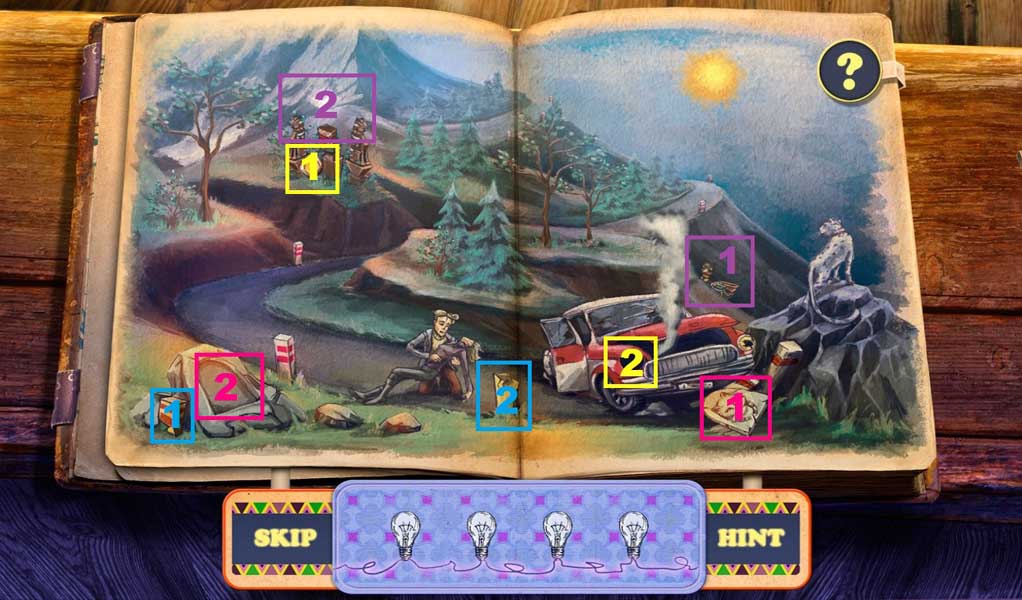
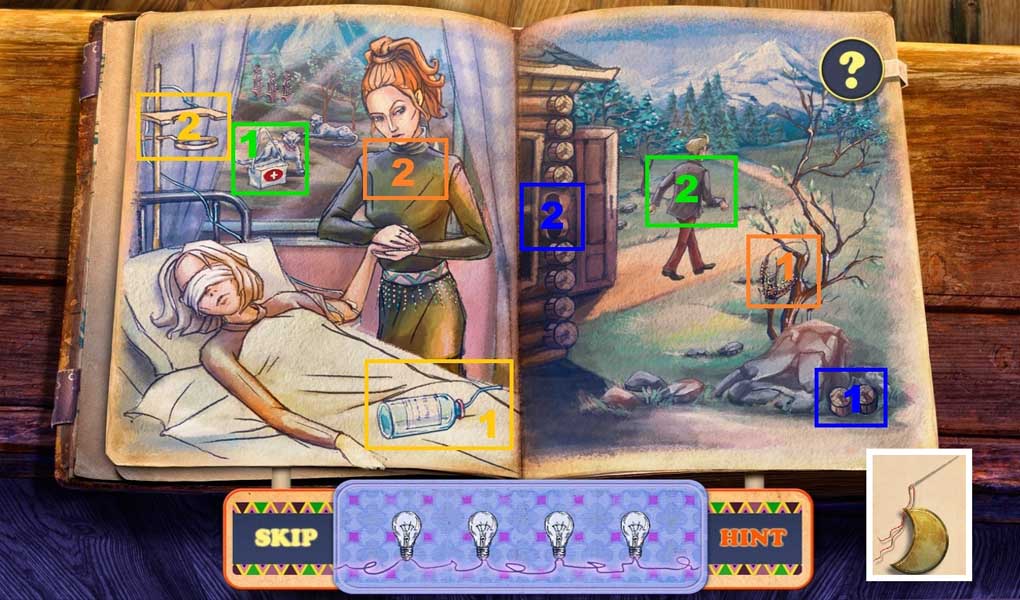
- Click the book 2x’s to trigger a mini game.
- Solve the game by arranging the misplaced items correctly.
- Collect the 1 /2 moons and the threaded needles.
- Move down once.
- Insert the stone disk.
- Enter the doorway.

- Click the basket; collect 3 /3 skulls and the torn bag.
- Mend the torn bag using the threaded needle; collect the sewn bag.
- Insert the stone square to trigger a hidden objects area.
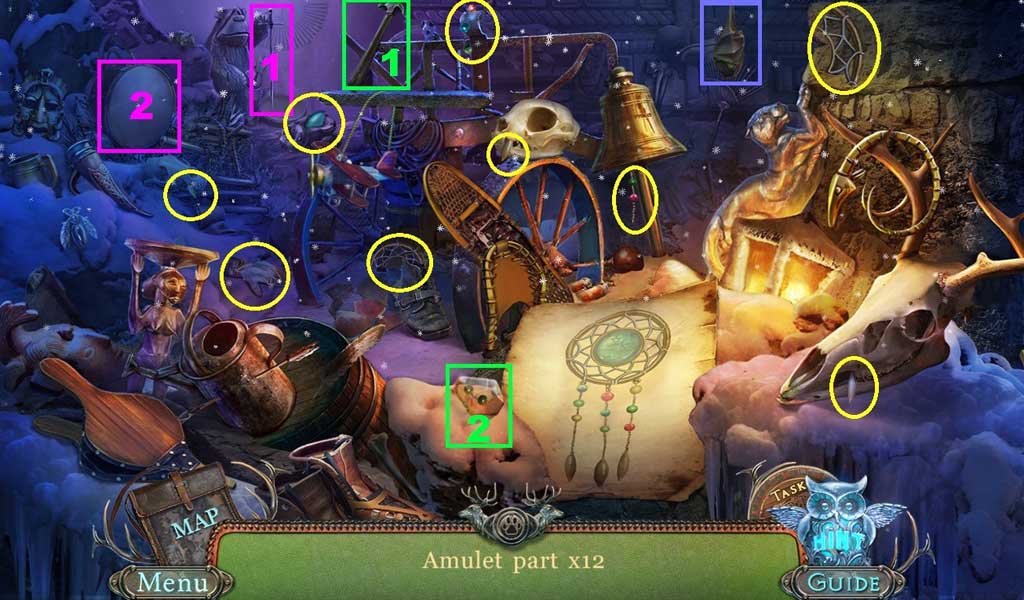
- Find the amulet parts.
- Collect the charged catcher.
- Move to the Arbor.

- Place the sewn bag into the dirt and click it once.
- Collect the bag with soil.
- Move to the Plateau.
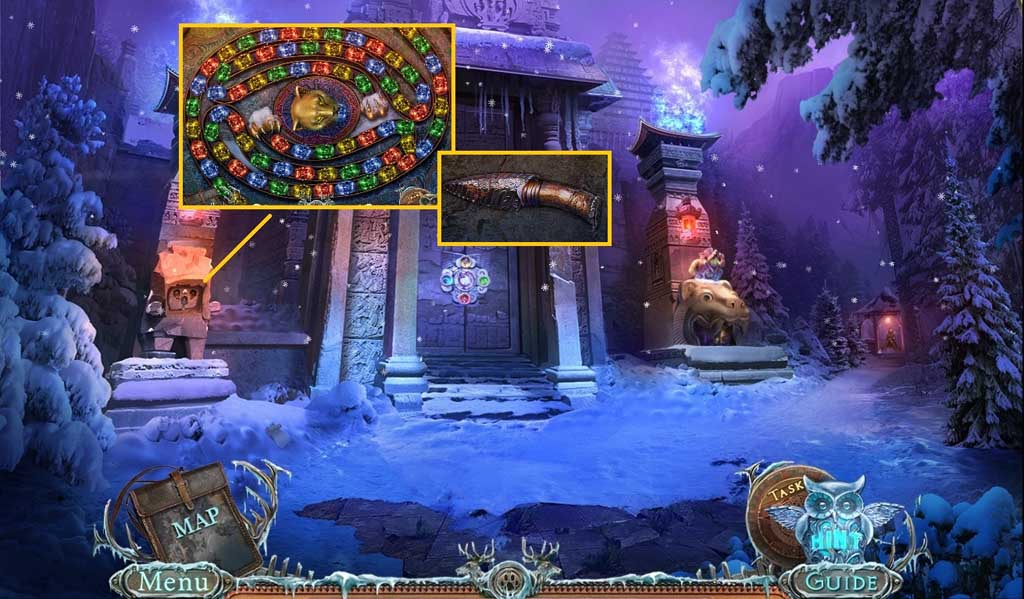
- Insert the 3 skulls to trigger a mini game.
- Solve the game by destroying matches of 3 or more.
- Collect the obsidian knife.
- Move to the Arbor.
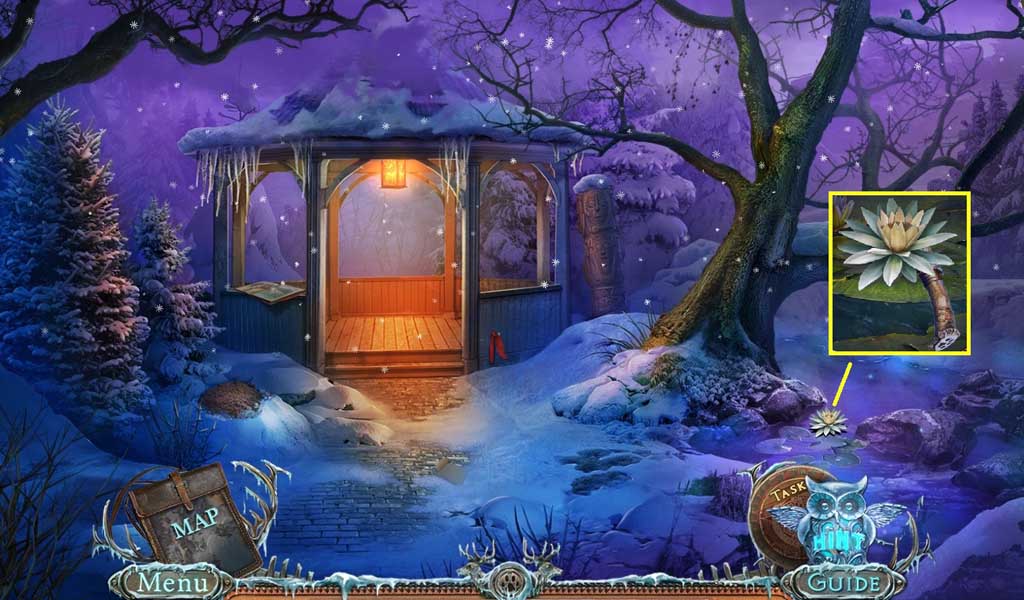
- Select the obsidian knife to collect the lily with water.
- Move to the Stone fields.
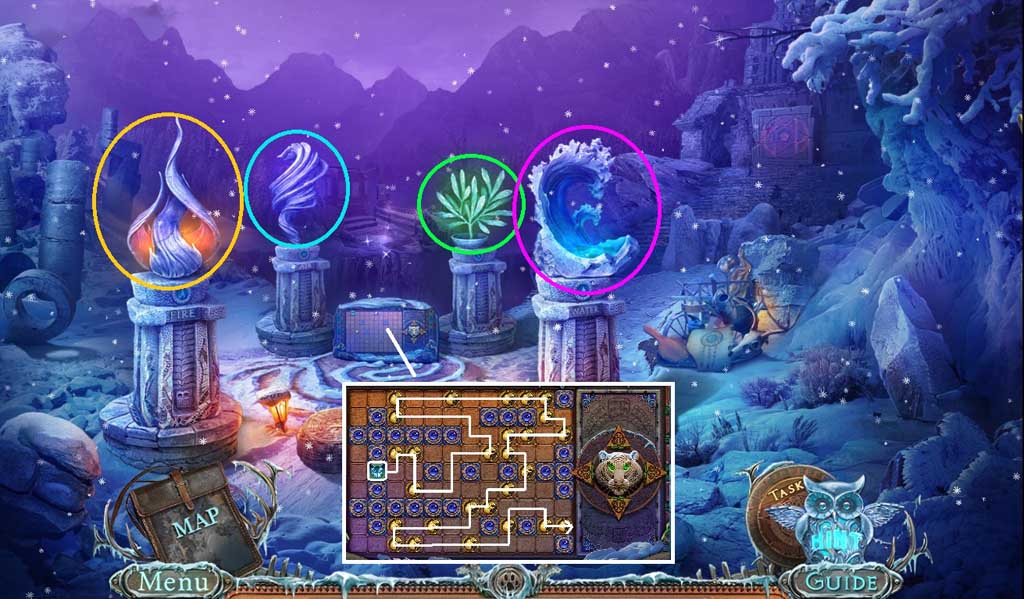
- Place the flint, the charged catcher, the bag with soil and the lily with water near to their pedestals to trigger a mini game.
- Solve the game by moving the cat around the board to eat all the mice.
- Move ahead.
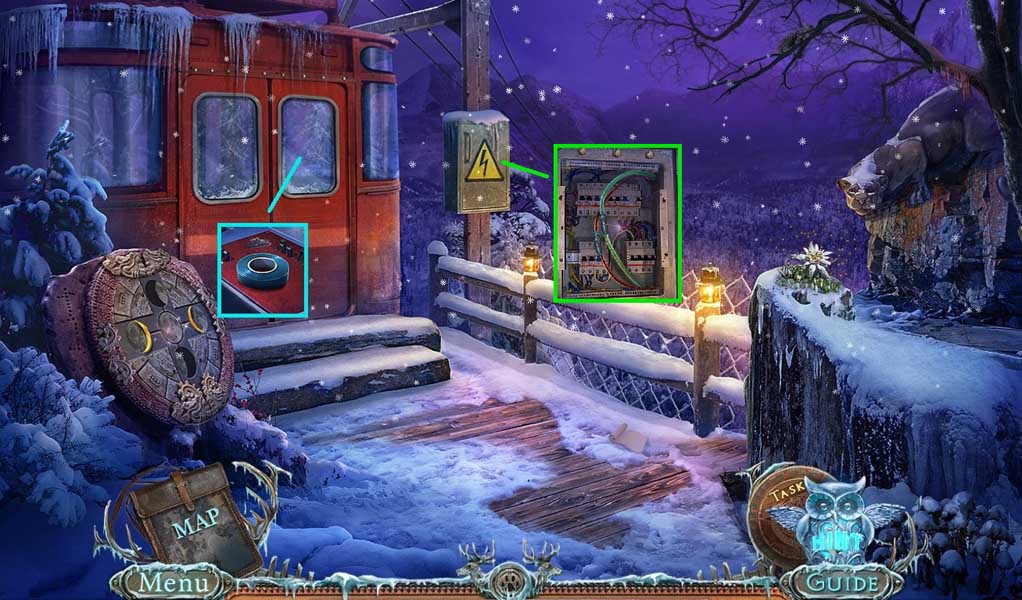
- Select the glass cutter to cut the glass; collect the insulating tape.
- Click the door; place the insulating tape onto the wires.
- Enter the lift.