
Lost Lands: Dark Overlord: Chapter Four: Caves
Our Lost Lands: Dark Overlord Walkthrough is the perfect companion to help you track down your missing son, Jimmy, through a strange new land. Trust our detailed instructions, custom marked screenshots, and simple puzzle solutions to help guide your steps as you being the frantic search for your son who's been taken by dark forces in a new exotic world.
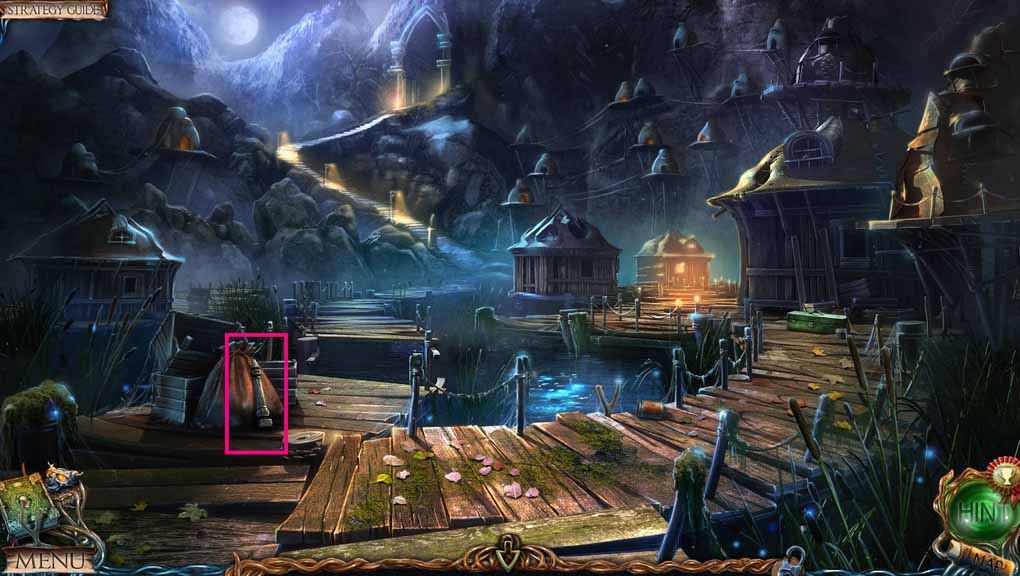
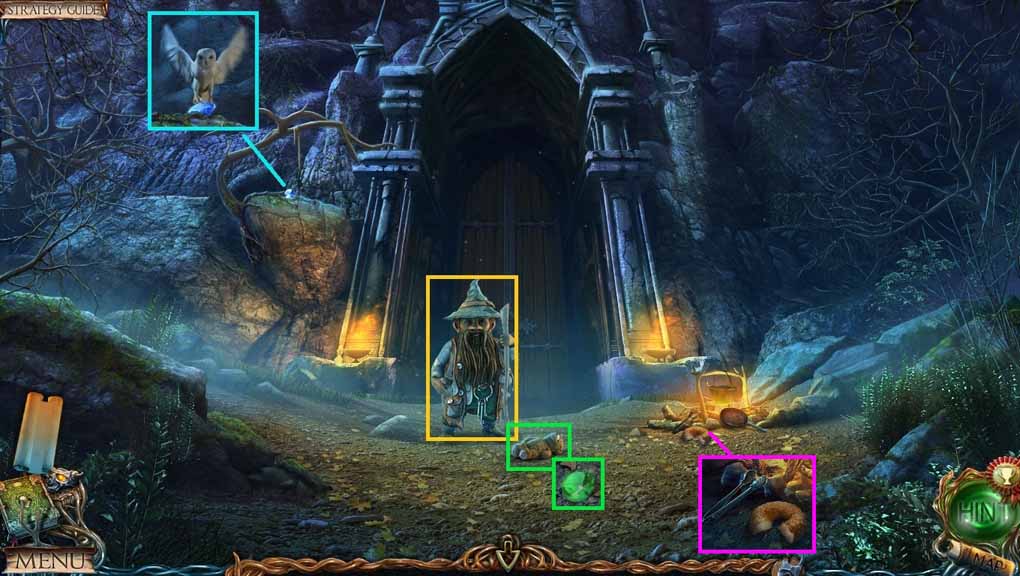
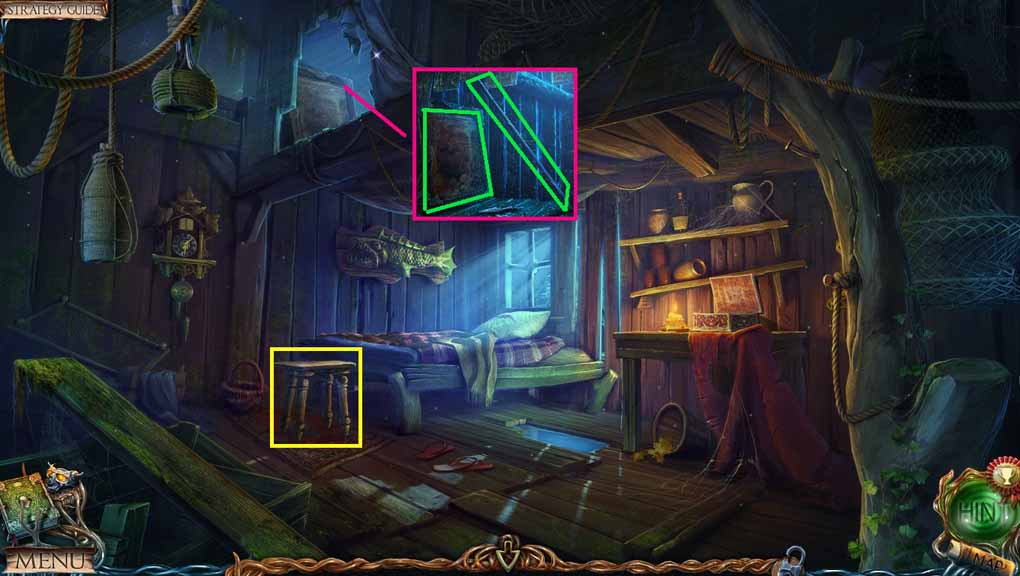
- Collect the stool leg.
- Move to the Outside the Cottage on the Water.
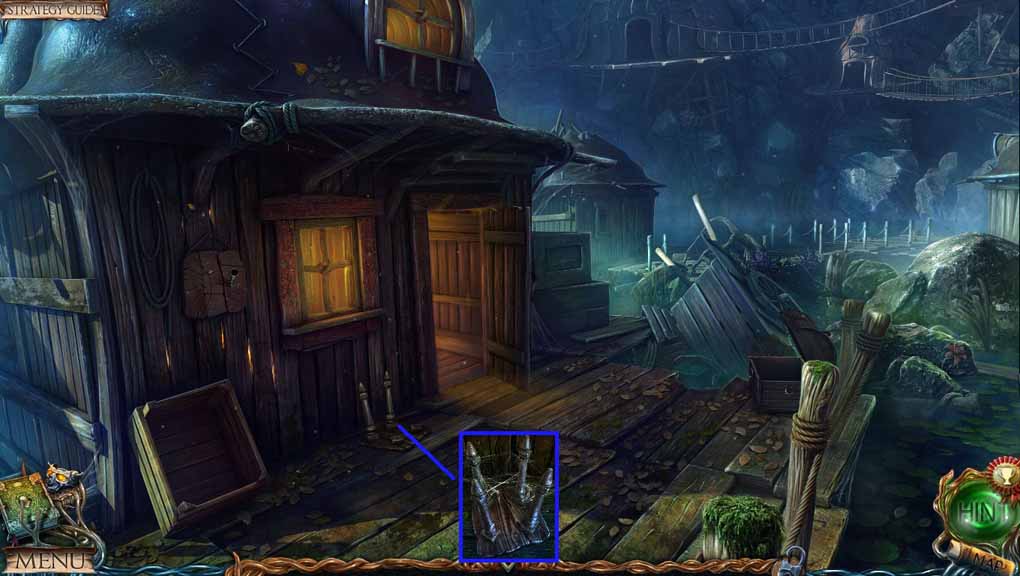
- Collect the long plank.
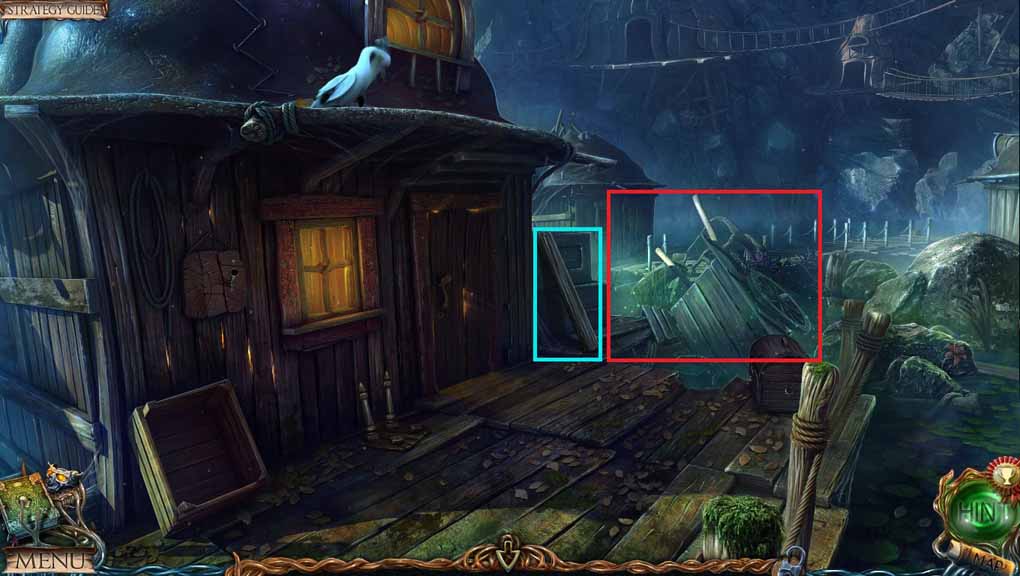
- Examine the cart to trigger a hidden objects area.
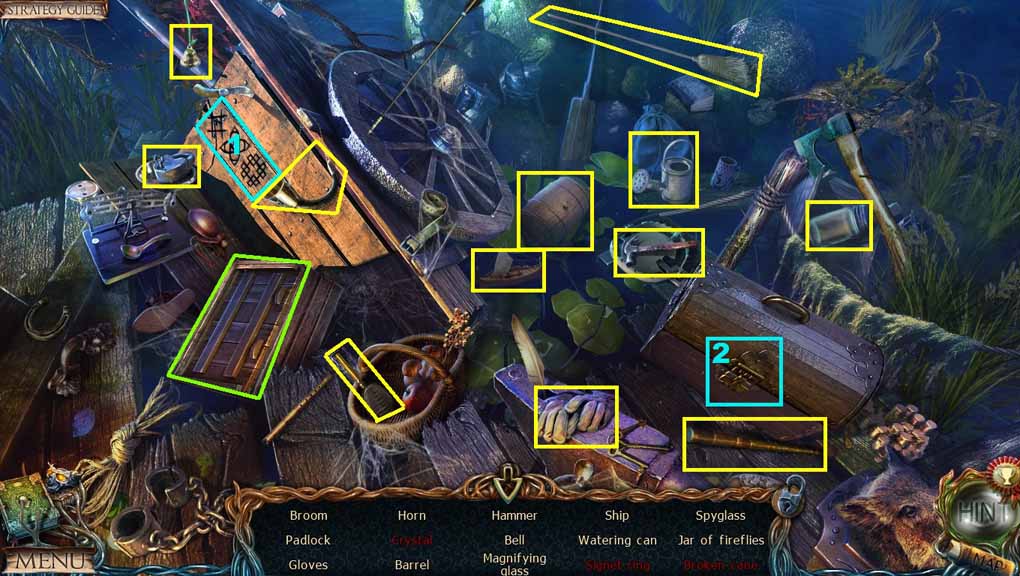
- Find the listed items.
- Select the code and use it on the trunk lock; collect the crystal.
- Click the crate; collect the signet ring and the broken cane.
- Collect the crystal.
- Move back once.
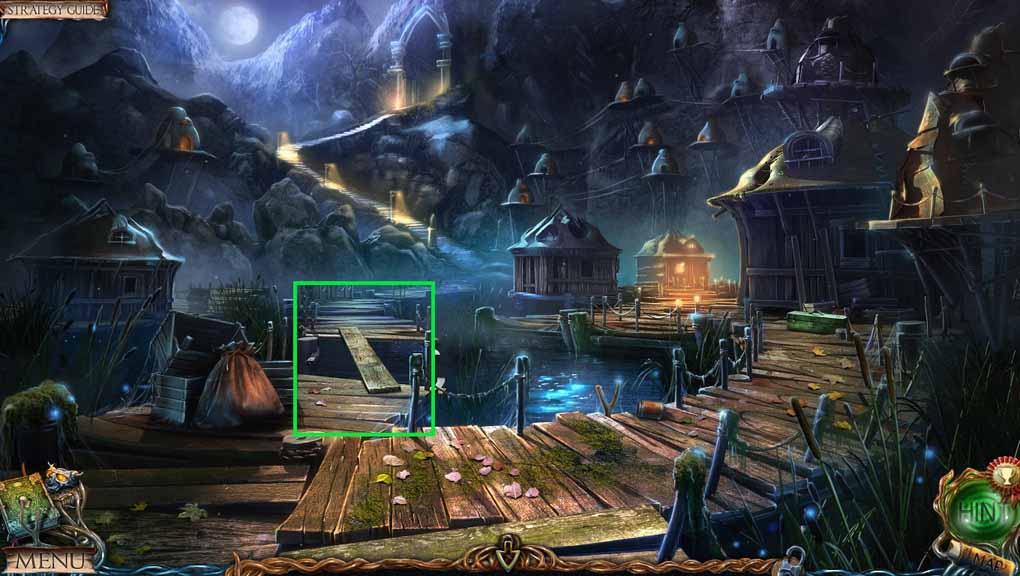
- Place the long plank onto the gap.
- Move up the stairs.
- Speak to Uri.
- Select the owl to collect the 1st sapphire.
- Collect the teddy bear and the 1st emerald.
- Collect the tongs and the breadcrumbs.
- Move back once.
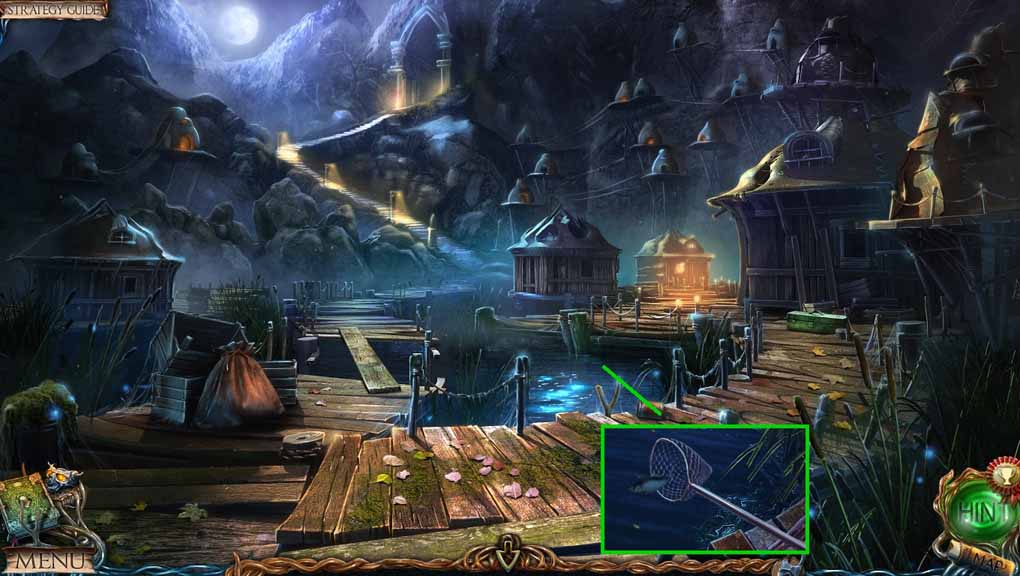
- Toss the bread crumbs into the water.
- Select the net to collect the fish.
- Move to the Outside the Cottage on the Water.
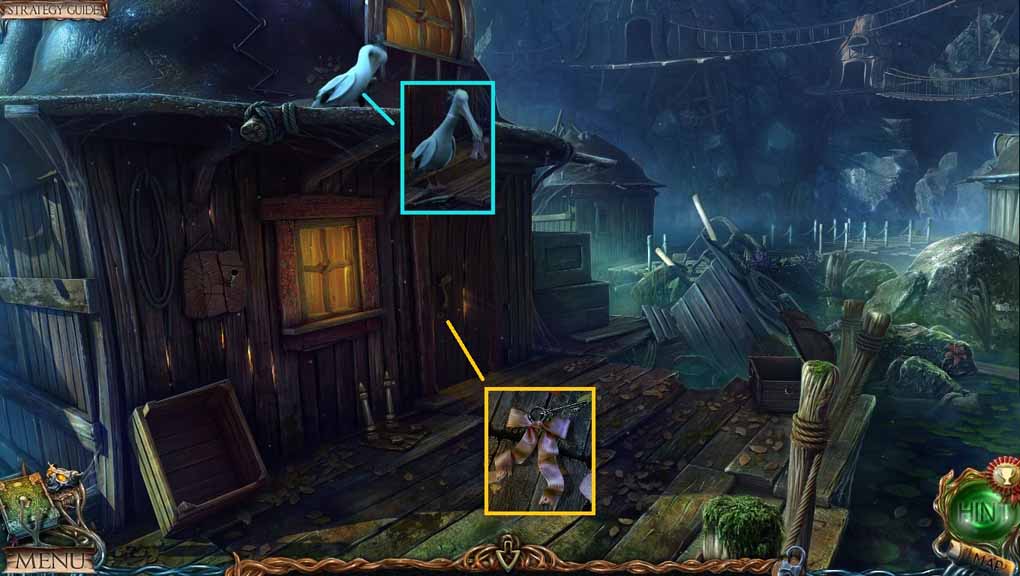
- Give the pelican the fish and collect the key.
- Insert the key into the lock and click it once.
- Move to the Cottage on the Water.
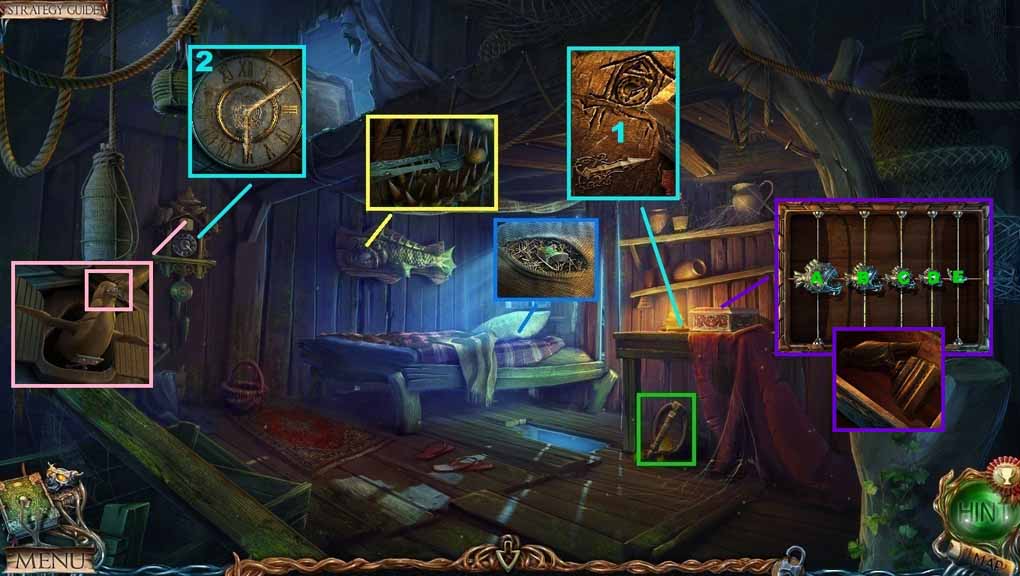
- Collect the 2nd stool leg.
- Select the tongs to collect the gold octagon.
- Select the dagger to slice the pillow; collect the mosaic piece.
- Collect the clock hand and notice the clue.
- Attach the clock hand onto the clock; set the clock per the clue.
- Collect the fish figurine and place it onto the box.
- Click the box to trigger a puzzle.
- Solve the puzzle by placing all the fish into the center.
- Use the following sequence to solve: A – B – C – D –E - A – C – E
- Collect the bird figurine.
- Move back once.
- Attach the 2 stool legs onto the stool.
- Collect the stool.
- Move into the Cottage.
- Place the stool onto the floor.
- Collect the picture and the stick.
- Move back once.

- Place the stick into the hook; click it three times.
- Collect the boat hook.
- Move to Uri’s Cottage.
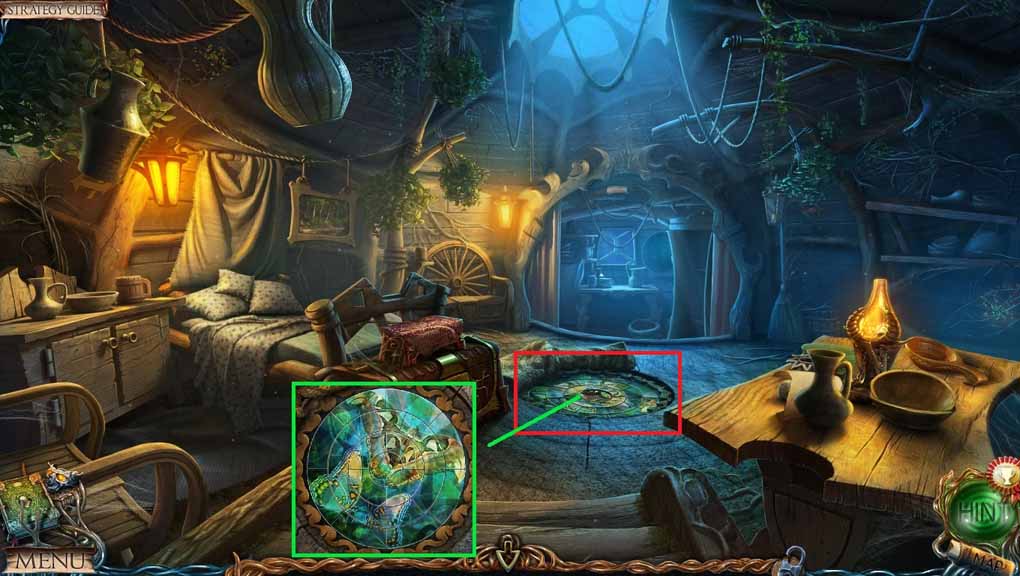
- Insert the mosaic piece into the mosaic to trigger a puzzle.
- Solve the puzzle by completing the image correctly.
- Examine the center opening to trigger a hidden objects area.
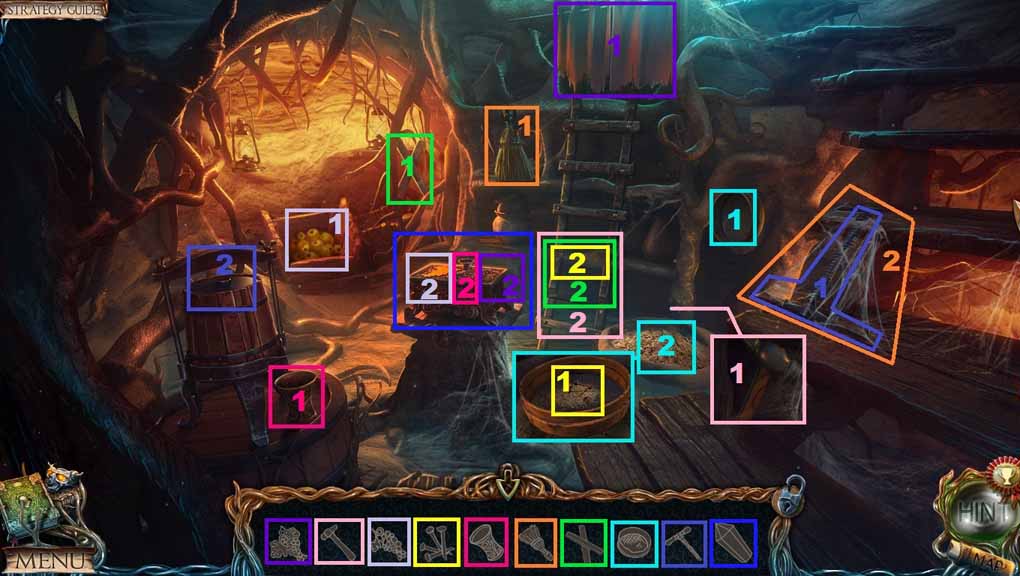
- Place the pictured items with their matches.
- Collect the broom and use it to clear the cobwebs and collect the handle.
- Attach the handle onto the press; collect the cup of sap.
- Collect the sieve and place it into the sap; collect the nails.
- Collect the steps and place them onto the ladder and select nails to secure them.
- Zoom into the area behind the sack; collect the hammer.
- Select the hammer to drive the nails into the ladder.
- Click the curtain and then the bottles; collect the glass grapes.
- Place the glass grapes onto the right side of the box.
- Zoom into the apple crate and click them aside; collect the glass grapes.
- Place the glass grapes onto the left side of the box.
- Select the cup of sap and pour it into the cup.
- Collect the 2nd crystal.
- Move to the Captain’s Cabin.
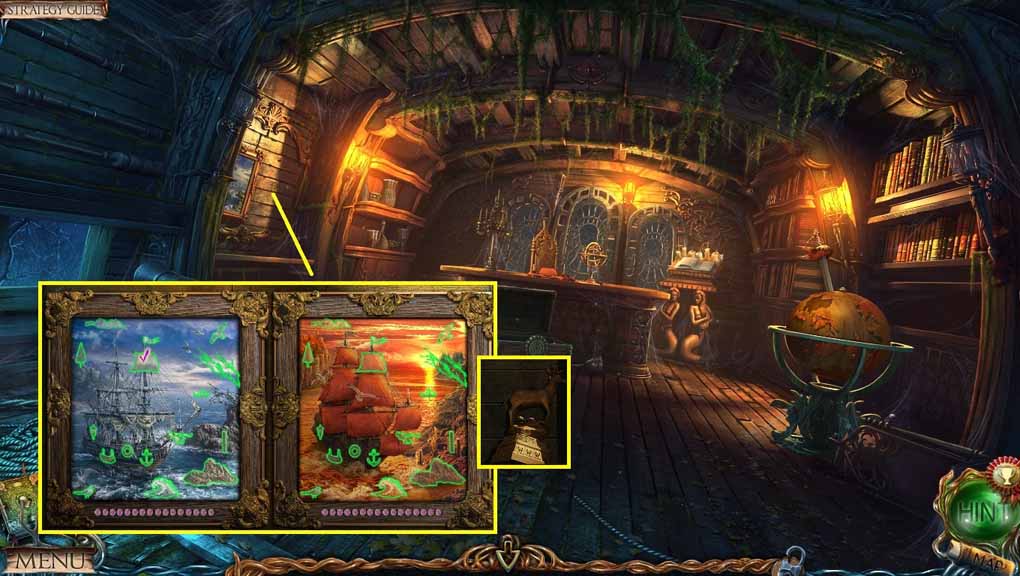
- Hang the picture onto the wall to trigger a puzzle.
- Solve the puzzle by finding the repetitions in the pictures.
- Collect the deer figurine.
- Move to Outside the Tree.
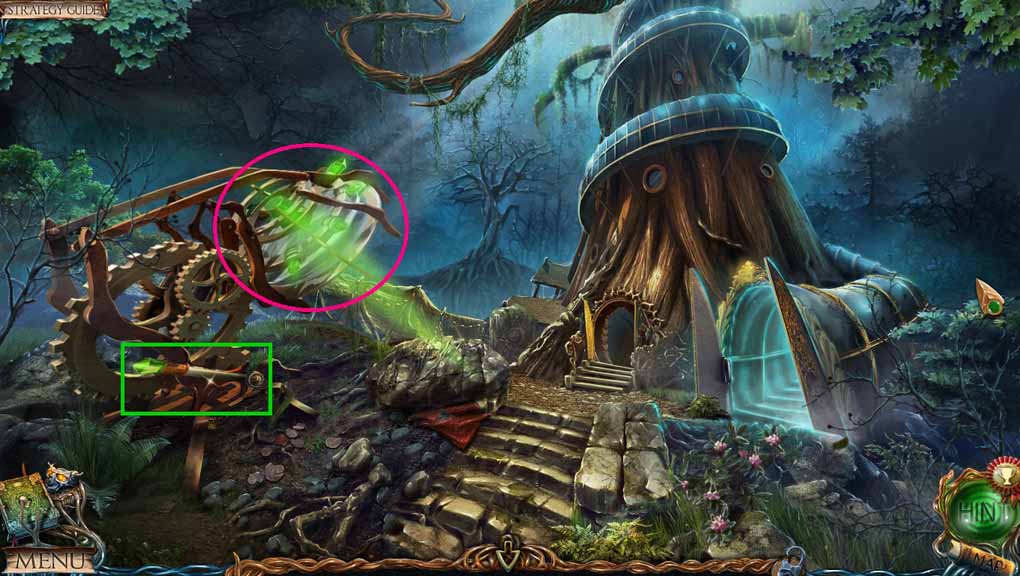
- Insert the 2 crystals into the grooves.
- Click the lever.
- Move to the Library.
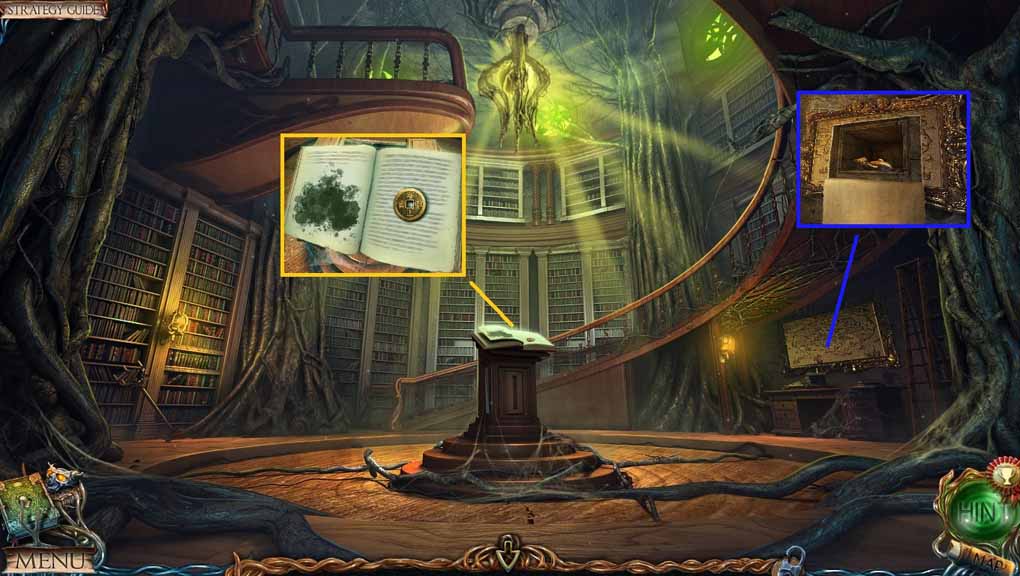
- Collect the coin.
- Select the dagger to slice the map; collect the fish figurine.
- Move to the Top of the Tree.
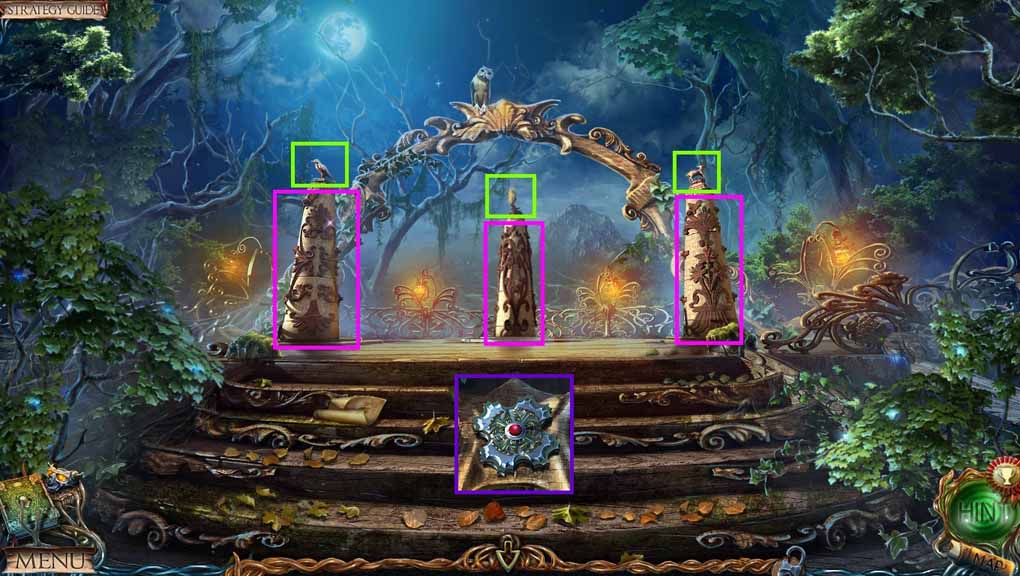
- Beginning on the left place the figurines as follows to trigger a puzzle:
- Bird – fish – deer
- Solve the puzzle by aligning the pillars to complete the pattern.
- Collect the gate key.
- Move to the Gates.
- Insert the gate key into the gate.
- Move ahead.