
Lost Lands: Dark Overlord: Chapter Seven: The Tower
Our Lost Lands: Dark Overlord Walkthrough is the perfect companion to help you track down your missing son, Jimmy, through a strange new land. Trust our detailed instructions, custom marked screenshots, and simple puzzle solutions to help guide your steps as you being the frantic search for your son who's been taken by dark forces in a new exotic world.
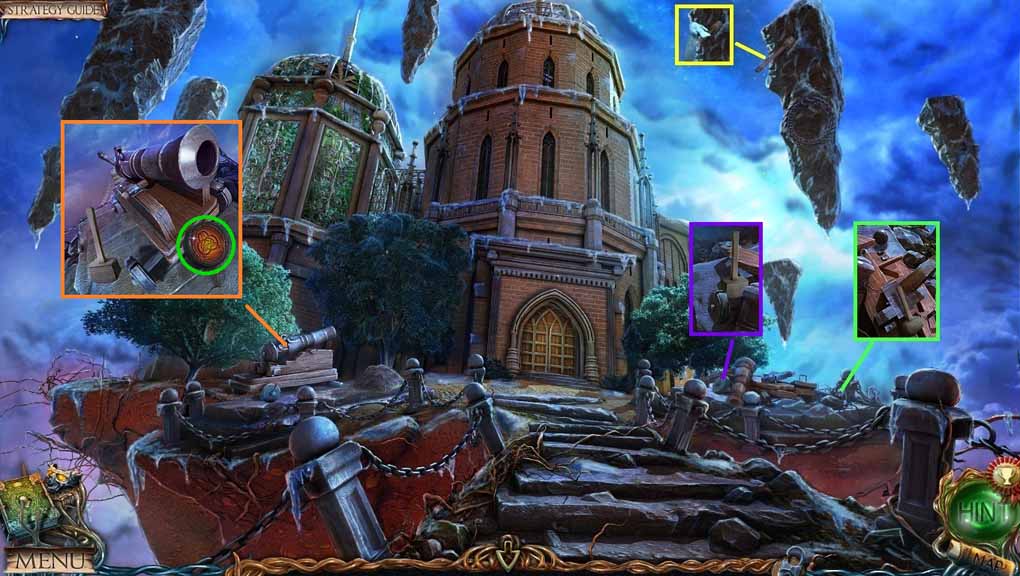
- Select the owl to collect the ramrod.
- Collect the cannon ball and the mallet.
- Select the mallet and use it on the wheel; collect the wheel.
- Collect the rune.
- Insert the gunpowder, cannon ball and the ramrod into the cannon.
- Attach the wheel onto the axle; select the mallet to secure it.
- Click the cannon 2 times.
- Move ahead.
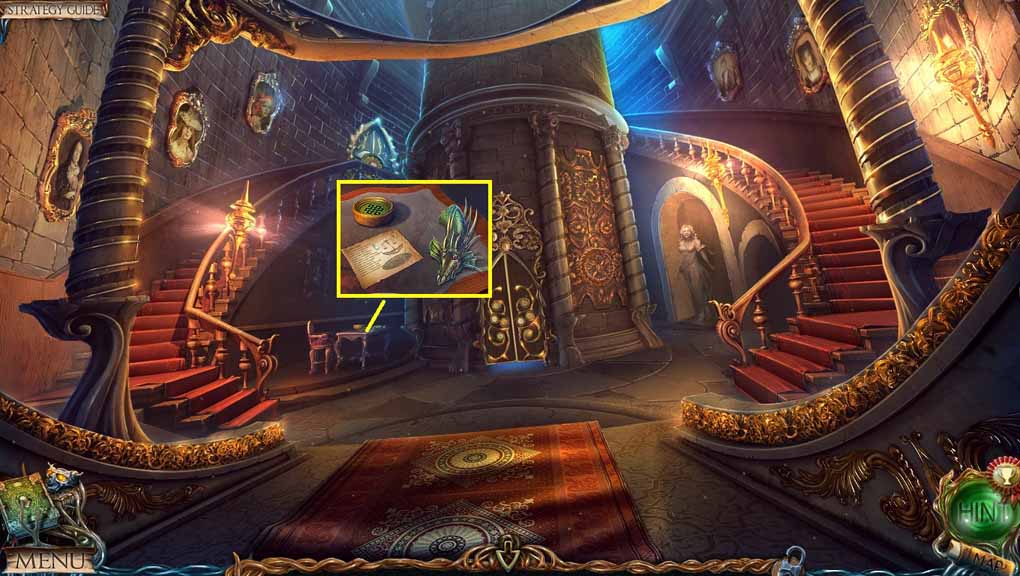
- Read the note.
- Collect the 2nd rune and the 4th bas-relief piece.
- Move to the Observatory.
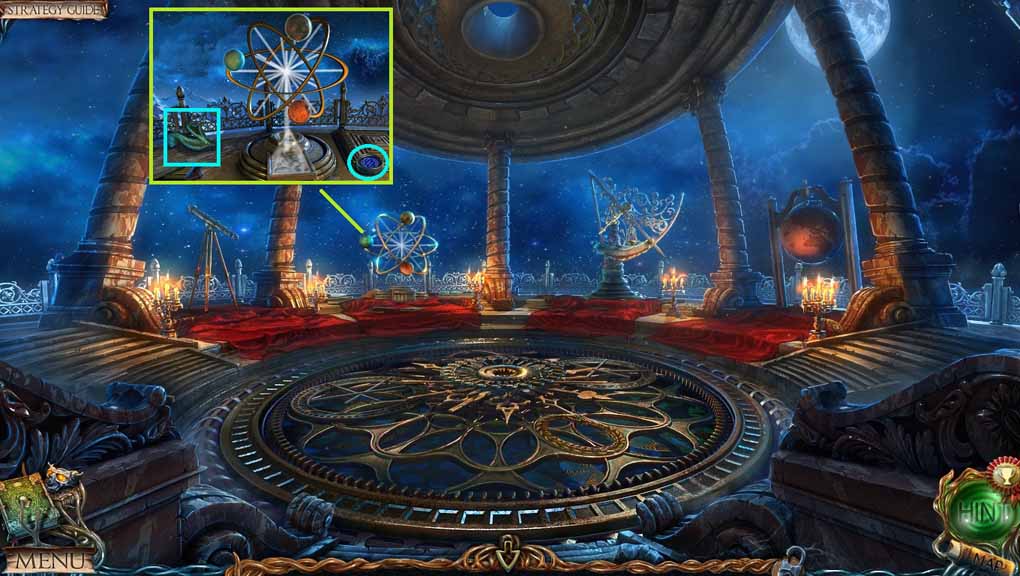
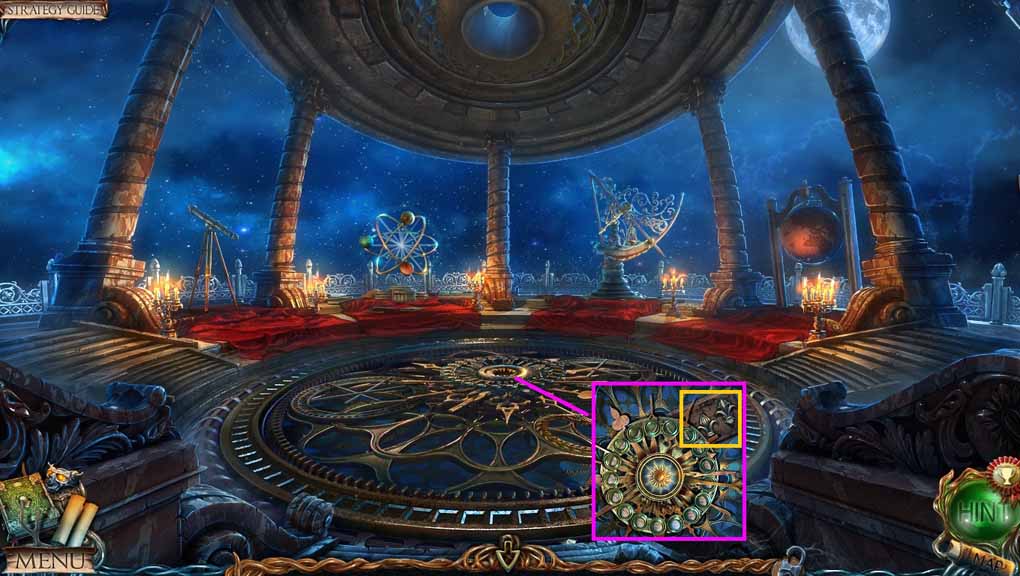
- Collect the 5th bas-relief piece and the 3rd rune.
- Move to the Viewing Point.
- Insert the 3 runes into their matching grooves to trigger a puzzle.
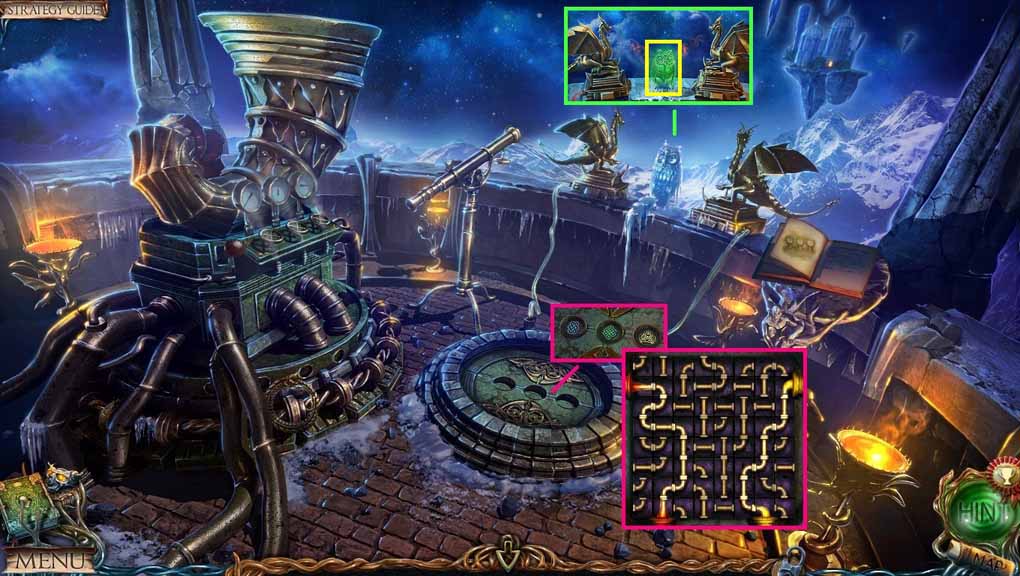
- Solve the puzzle by attaching the pipes correctly.
- Click the dragon heads to face the owl; collect the glass owl.
- Move to the Path to the Castle.
- Place the glass owl onto the pillar.
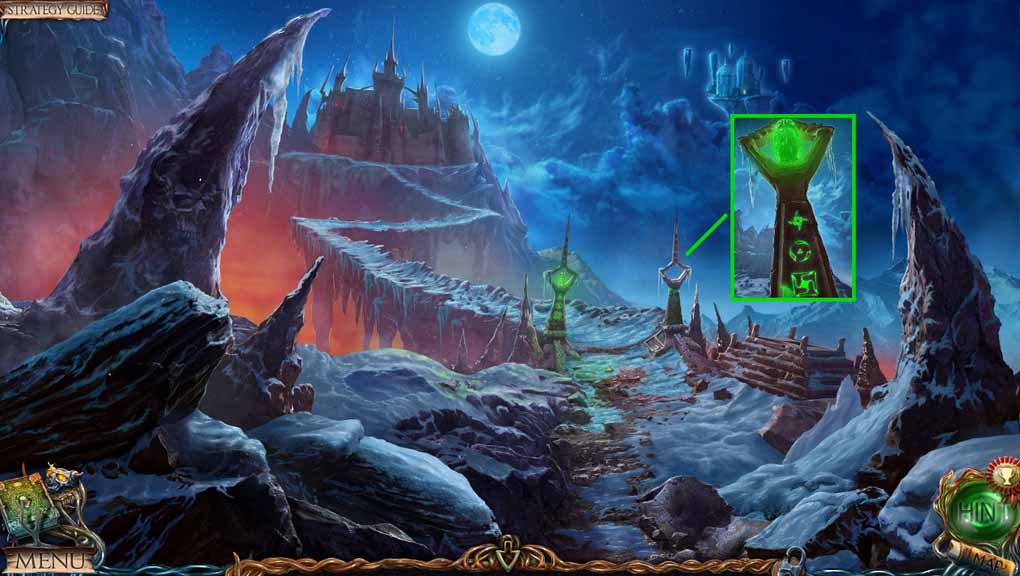
- Examine the rune pattern on the pillars.
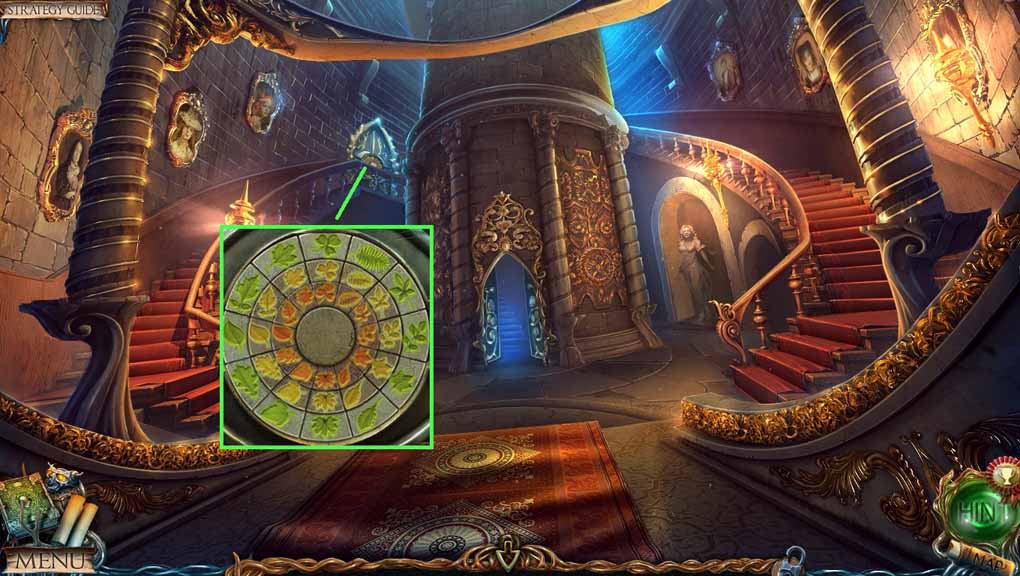
- Move to the Tower Hall.

- Zoom into the door to trigger a puzzle.
- Solve the puzzle by clicking the runes as shown in the pillars.
- Move ahead.

- Speak to the Alchemist.
- Collect the 6th bas-relief piece.
- Collect the rails and the flask.
- Read the recipe.
- Examine the alcove to trigger a hidden objects area.

- Find the pictured items.
- Select the corkscrew and insert it to uncork the barrel; click the barrel.
- Select the keys and insert it into the lock; click the door open.
- Collect the valve and the knight figurine.
- Select the valve and attach it to the stem on the cauldron.
- Select the knight figurine and place it into the cauldron.
- Select the matches and use it to ignite the fire.
- Zoom into the skeleton and collect the mold; place the mold next to the cauldron.
- Zoom into the book and collect the tweezers; use the tweezers to collect the medallion half.
- Zoom into the cauldron and click the valve; collect the other medallion half.
- Zoom into the area above the fireplace and insert the 2 medallion halves.
- Collect the dried nightshade berries.
- Move to the Underground Descent.
- Click the cover.
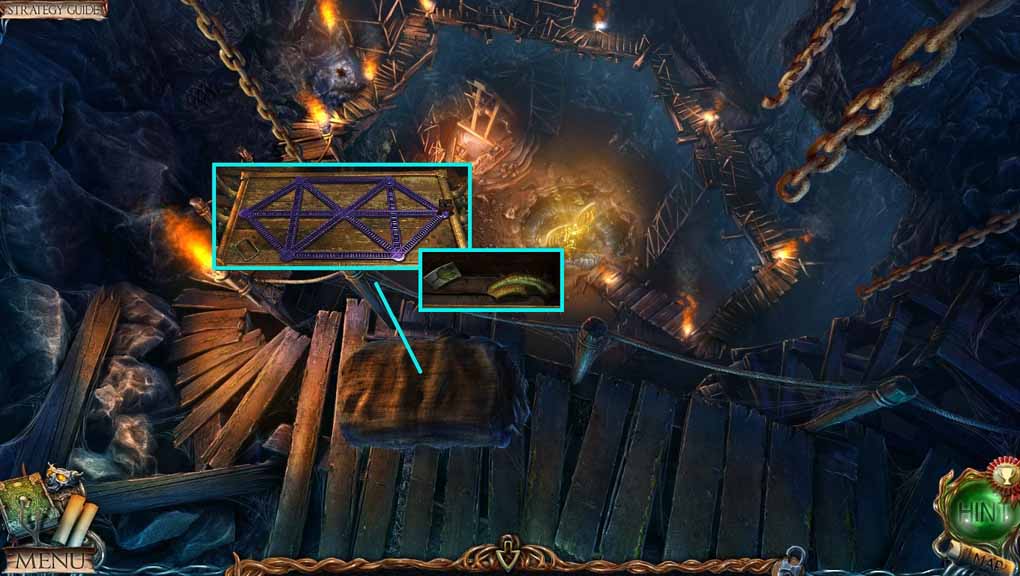
- Lay the rails onto the chest to trigger a puzzle.
- Solve the puzzle by moving the wagon along every track only once.
- Collect the 7th bas-relief piece and the circle segment.
- Move to the Tower Hall.
- Insert the circle segment into the lock to trigger a puzzle.
- Solve the puzzle by aligning the matching pieces.
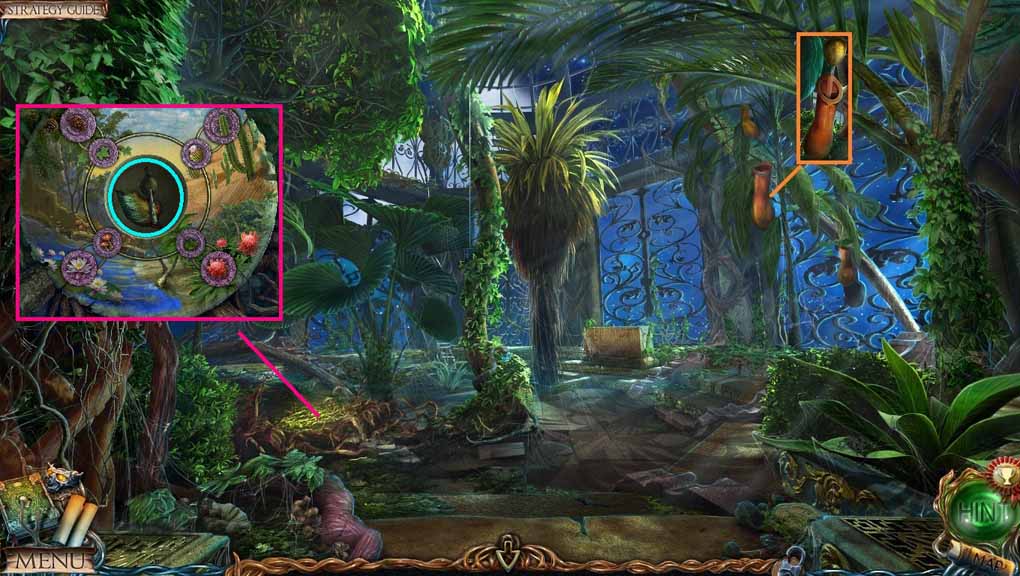
- Move to the Greenhouse.
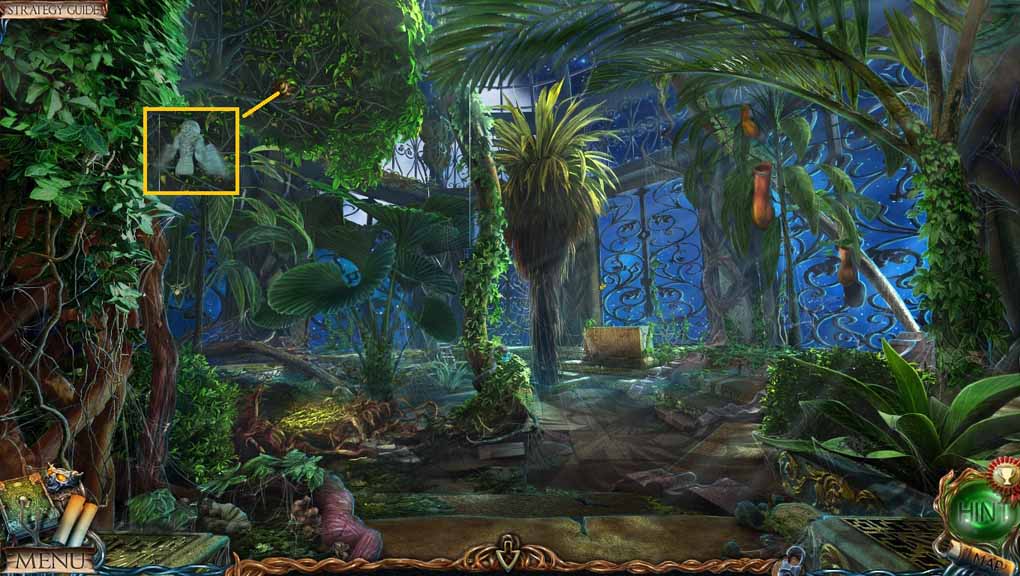
- Select the owl to collect the sun figurine.
- Move to the Observatory.
- Zoom into the middle of the floor.
- Insert the sun figurine and collect the tablet piece.
- Move to the Dwarf’s Room.
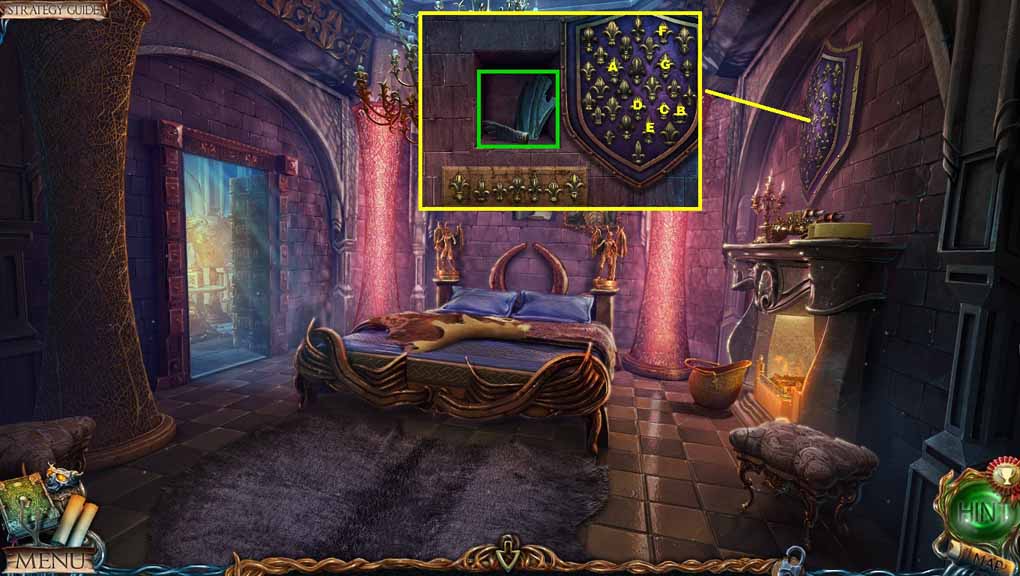
- Zoom into the mantle.
- Place the tablet piece onto the tablet to trigger a puzzle.
- Click the fleur-de-lis in the correct order.
- Collect the 8th bas-relief piece and the glove.
- Move to the Greenhouse.
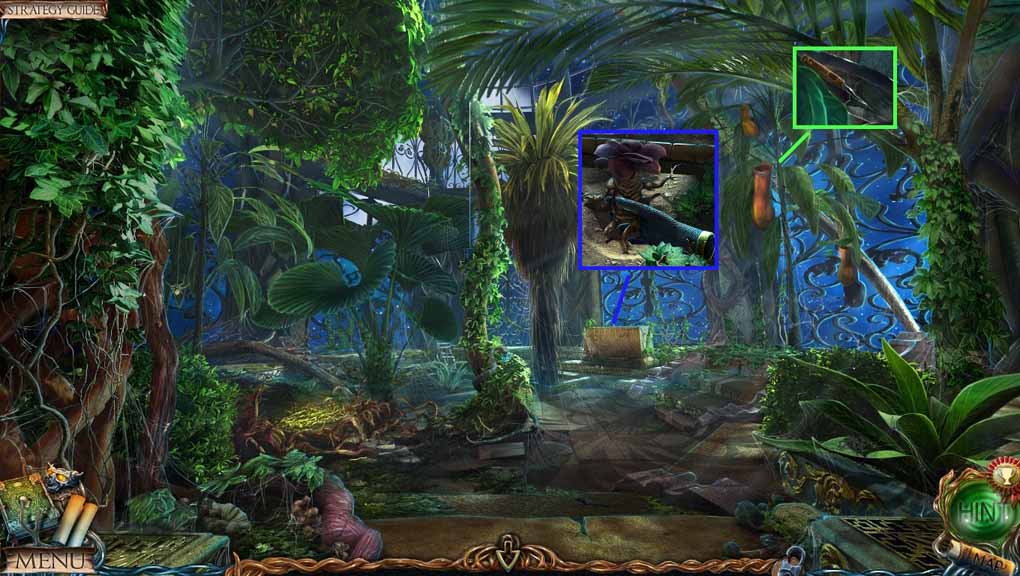
- Click the leaves; collect the trowel.
- Select the trowel to remove the dirt.
- Select the glove to collect the mandrake root and the key beneath it.
- Move to the Alchemist’s Laboratory.
- Insert the key into the lock.
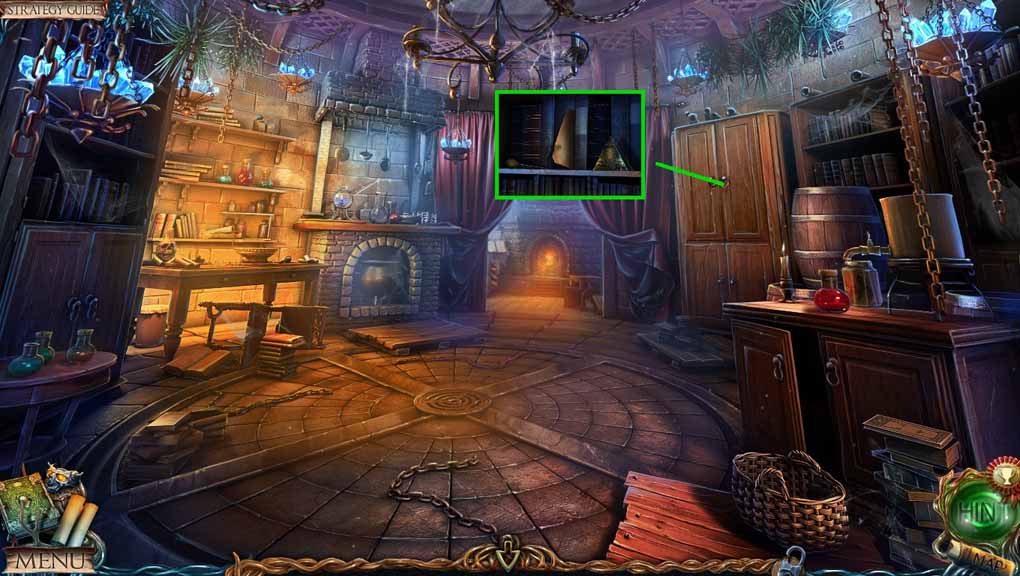
- Collect the recipe, the dropper and the pyramid.
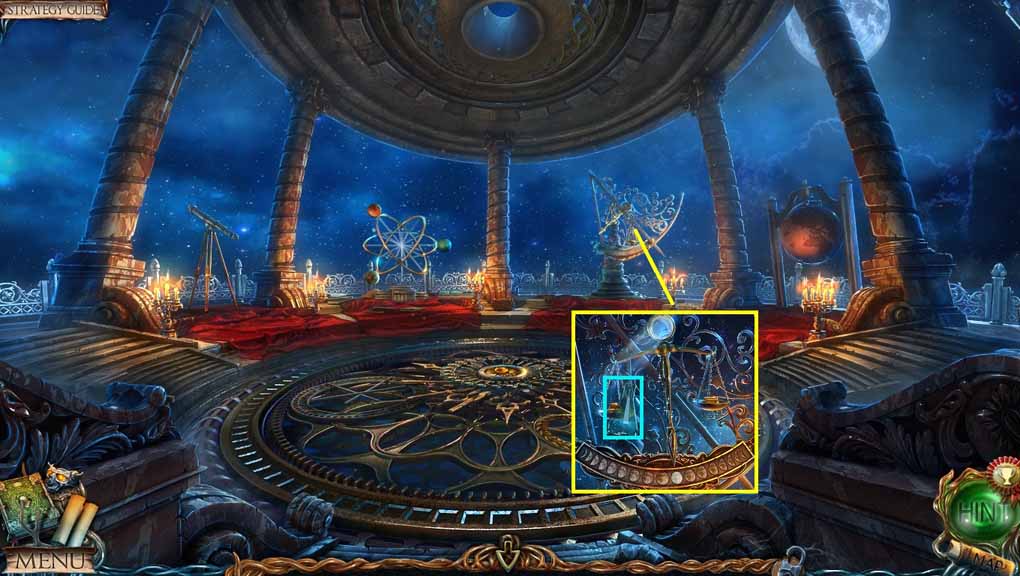
- Move to the Observatory.
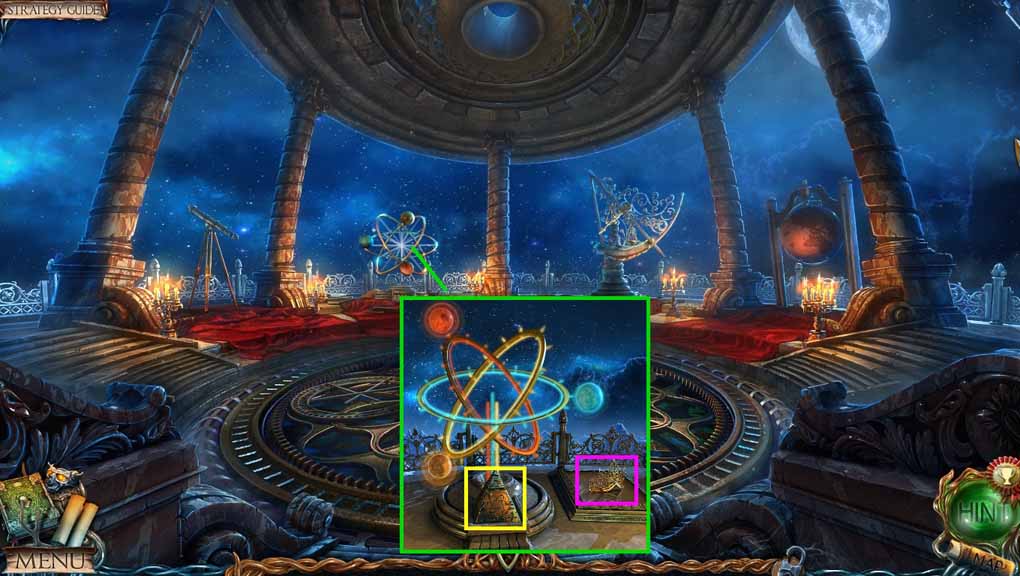
- Insert the pyramid onto the pedestal to trigger a puzzle.
- Solve the puzzle by aligning the planets into the correct spots.
- Collect the crown.
- Move to the Tower Hall.
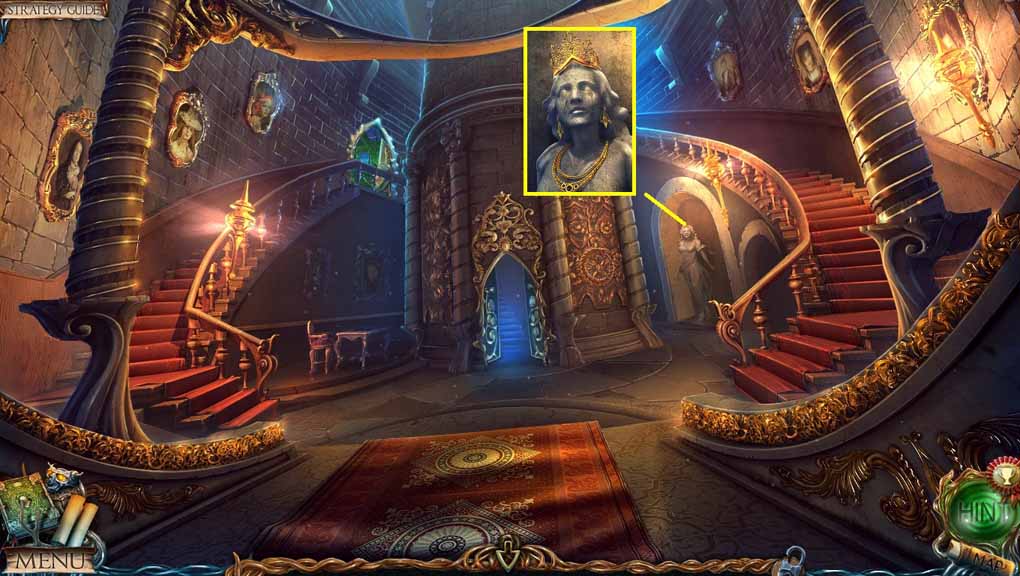
- Place the crown onto the statue.
- Move into the Indoor Patio.
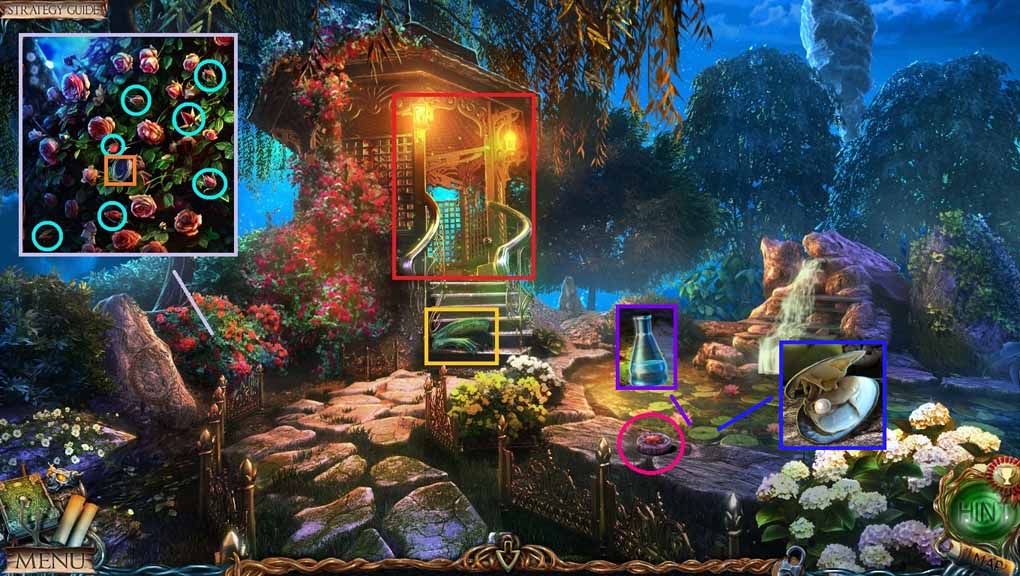
- Collect the lens.
- Click the 7 rosebuds.
- Dip the flask into the water; receive a flask of water.
- Click the oyster and select the dagger to open it.
- Collect the pearl and the mosaic piece.
- Collect the 9th bas-relief.
- Examine the gazebo to trigger a hidden objects area.
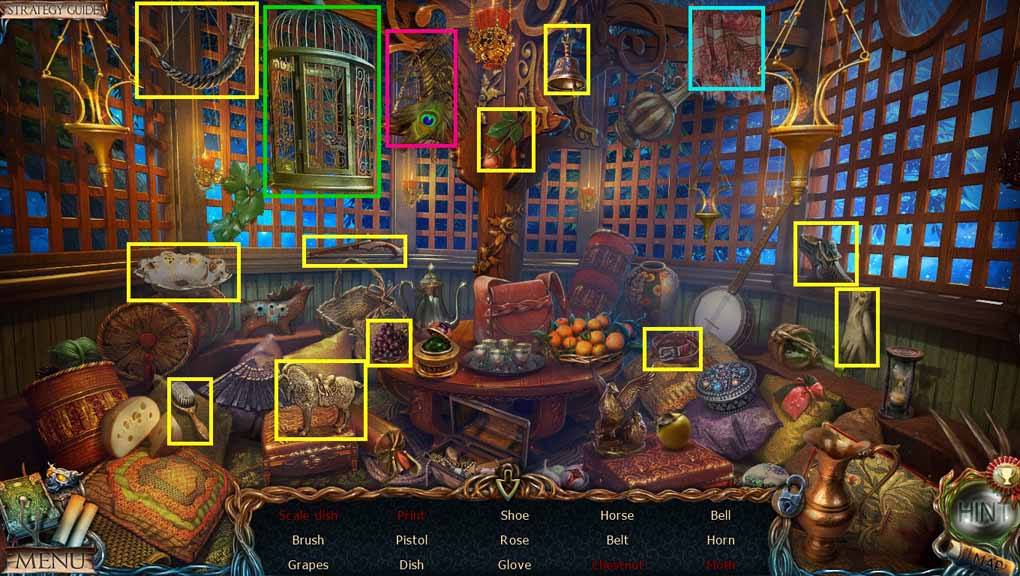
- Find the listed items.
- Click the feather to uncover and collect the scale dish.
- Click the cloth; collect the print.
- Zoom into the cage; collect the chestnut and the moth.
- Collect the scale dish.
- Move to the Greenhouse.
- Select the dropper to use on the plant; receive the pitcher plant nectar.
- Select the dagger to slice the vines.
- Insert the mosaic piece into the disk to trigger a puzzle.
- Solve the puzzle by aligning the disks correctly.
- Collect the 10th bas- relief piece and the flute.

- Select the flute to charm the snake; collect the copper powder and snake scales.
- Move to the Observatory.
- Attach the scale dish onto the scale.
- Place the coins onto the scale.
- Move 4 coins from the left scale to the right scale and place the lens onto the top.
- Place the flask water into the beam stream; receive lunar tears.
- Move to the Throne Room.
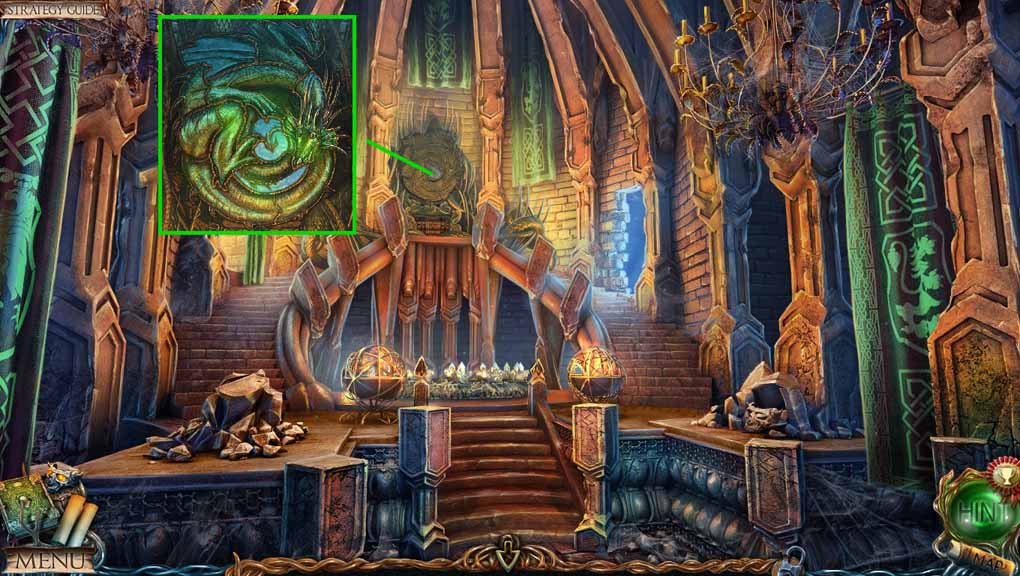
- Insert the 10 bas-relief pieces into the matching sections of the bas-relief.
- Collect the dragon’s blood.
- Move to the Alchemist’s Laboratory.
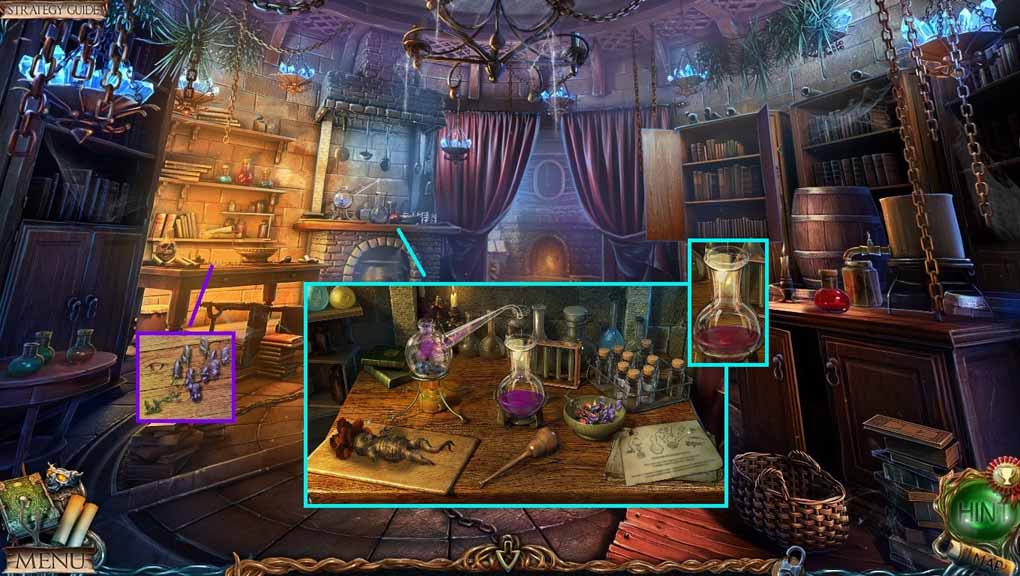
- Collect the aconite.
- Examine the mantle.
- Place the dried nightshade berries into the beaker.
- Place the mandrake root onto the cutting board.
- Select the dagger to use on the mandrake root; click the mandrake root.
- Place the 7 rosebuds and the aconite into the mortar; click the pestle.
- Place the pitcher plant nectar into the beaker; click the mortar.
- Collect the life potion.
- Move to the Underground Lake Shore.